
Version 1.2 of ART added - among other things - a tool to remove unwanted spots in your photo, like dust on the image sensor, scratches or dust on slides and negatives or stupid birds that spoil your composition. Following is a quick look at how this tool works.
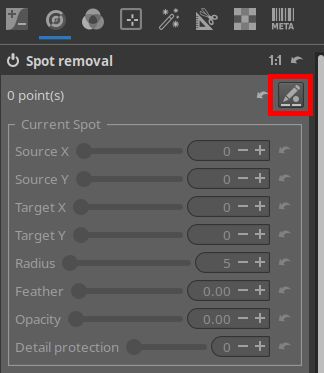
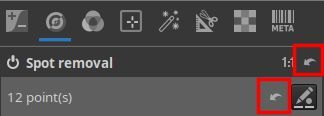
The Spot Removal tool is located under the Detail tab. Activate the tool by clicking on the power symbol in front of it.
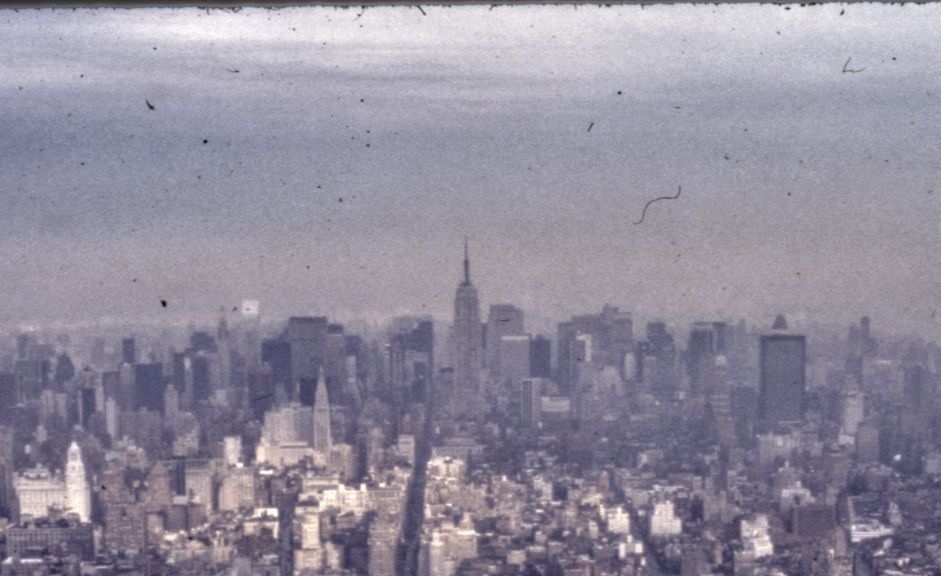
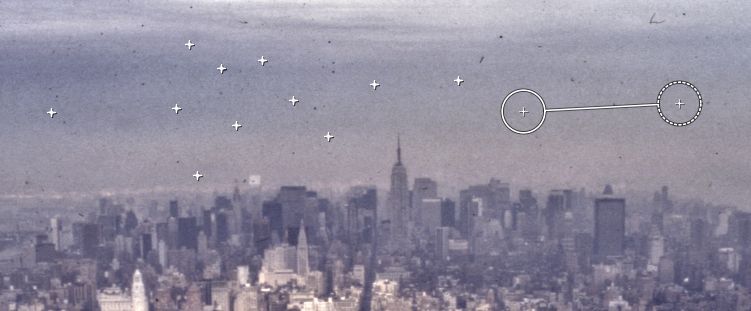
For this article I'll use a scan of a color slide taken on the 113th floor of the World Trace Center, New York, 1993, with a view over Manhattan. It has lots of dust and scratches on it - and some stupid birds if you look close enough.
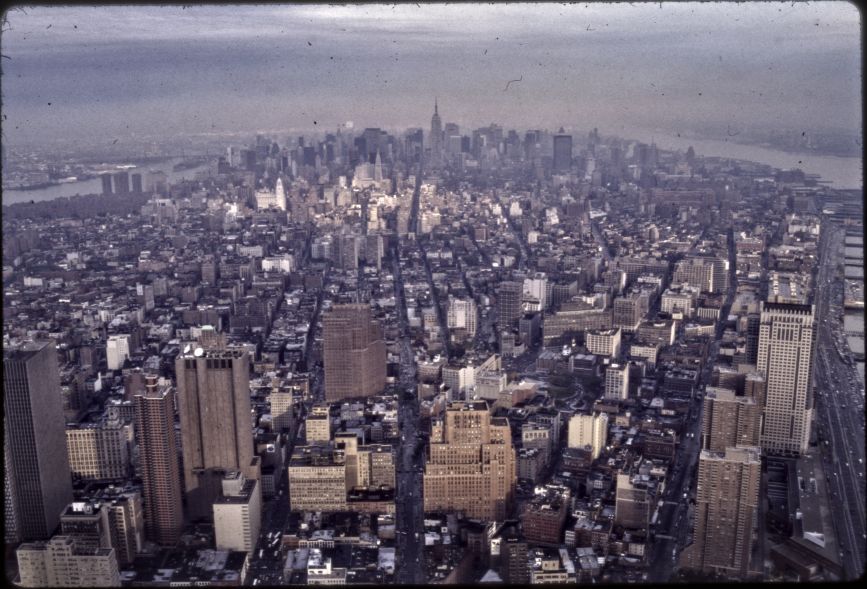
Lots, I said!
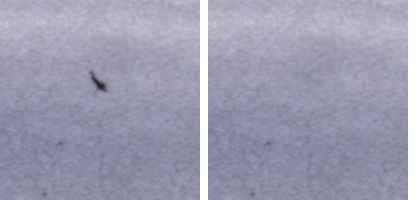
Let's start cleaning a bit. First click on the pencil icon (in red, in the screenshot above) to tell the tool we are going to add points to the image. Its color changes from gray to darker. Then do a Ctrl+click on a spot that has to be removed. You'll see this.
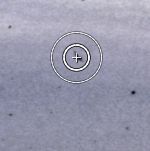
You see two circles here. The inner one is the 'real' one, meaning the area that is going to be transformed or cleaned. The outer one shows the feather area. Actually these circles hide another circle under them. Click on the + sign in the center and drag the circle a bit away, like so.
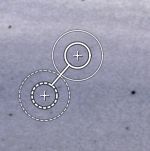
Now you see two circles, a dotted one and a solid one. The solid one covers the area that has to be cleaned (the 'target'), the dotted one covers the ('source') area that is going to be copied to the target. Make the circles smaller and bigger by dragging them, or use the sliders in the spot removal tool. Use the Opacity slider to mitigate the strength of the tool (0.00 is nothing, 1.00 is full). Set the Feather slider to 0.00 to work only with the inner parts of the circle.
As you can already see in the tiny screenshot above, the black spot disappeared. Now unclick the pencil icon in the spot removal tool to hide the two circles, so you can judge this reparation. Toggle the spot removal tool on and off (with that 'power' button) to switch between before and after view. If you want to change things, click again on the pencil icon and work on.
Ctrl+click somewhere to make a second cleaning point. Repeat that with all the points you want to heal. The tool shows the number of spots you have selected thus far. If the pencil icon is activated, stars indicate those spots. Click on one of them to continue editing. Right-click on a star to remove it.
There are two Undo buttons in this tool.
_____________