
ART offers several tools to create masks, in order to edit or correct only parts of a photo. The first 1.0 release of ART offered already a deltaE mask for selecting regions based on color similarity, and an area mask to draw shapes of all kinds on a photo. Version 1.2 added the very handy brush mask with which you can draw any shape you like to make a mask, as well as a parametric mask.
In this first article I describe how to create area masks, how to copy them for use in the other local edit tools, how to work on the inverse mask, etc.
In a separate article I'll show you how to use the deltaE mask, in combination with the brush mask.
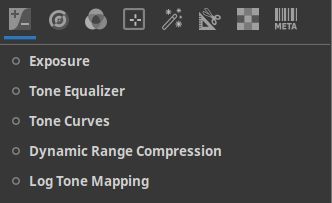
Nota. Masks only work with the four modules in the Local editing section: Color correction, Smoothing, Local contrast and Texture boost. This means you can't create a mask here, then go back to the Exposure tab for example and adapt the exposure for that mask. But the tools available in Local editing offer lots of functionality, including adapting the exposure of a photo!
Please note as well that image operations like rotation, perspective correction, profiled lens correction and distortion transformations must be done before defining area and brush masks.
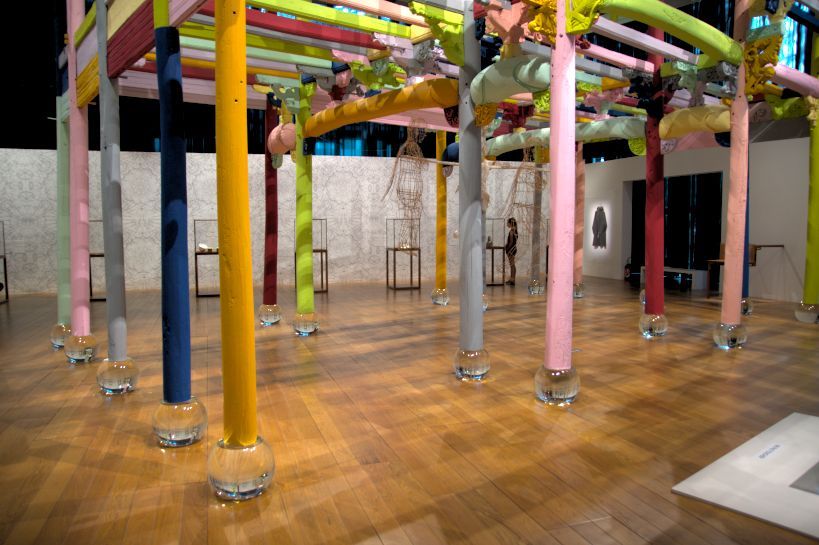
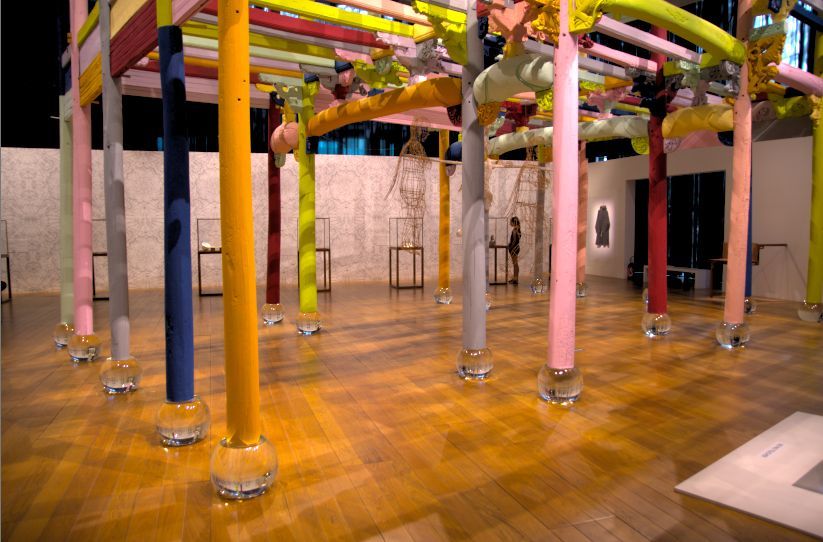
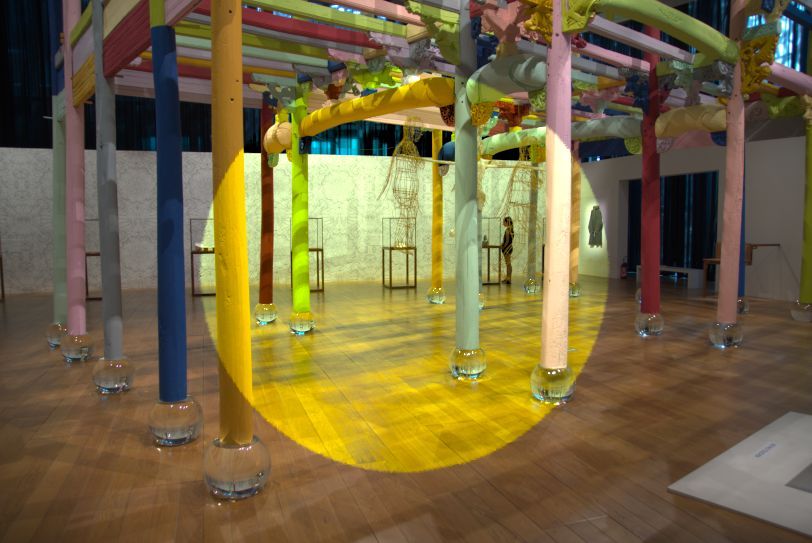
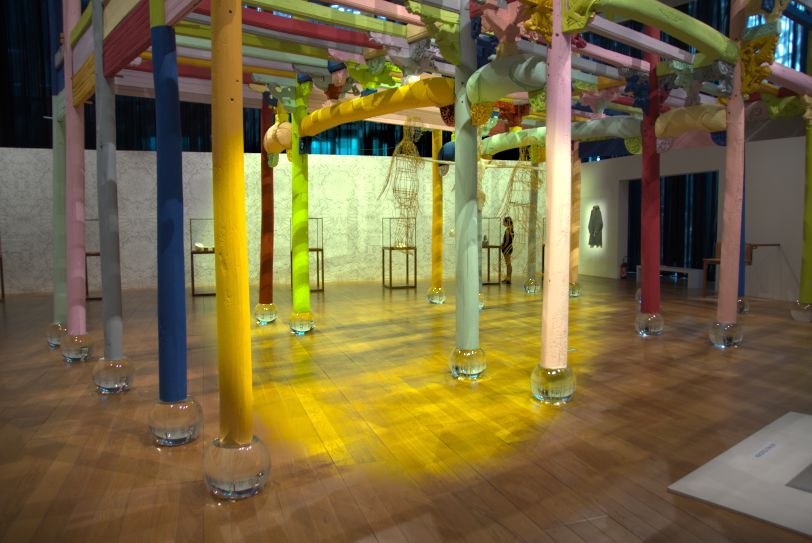
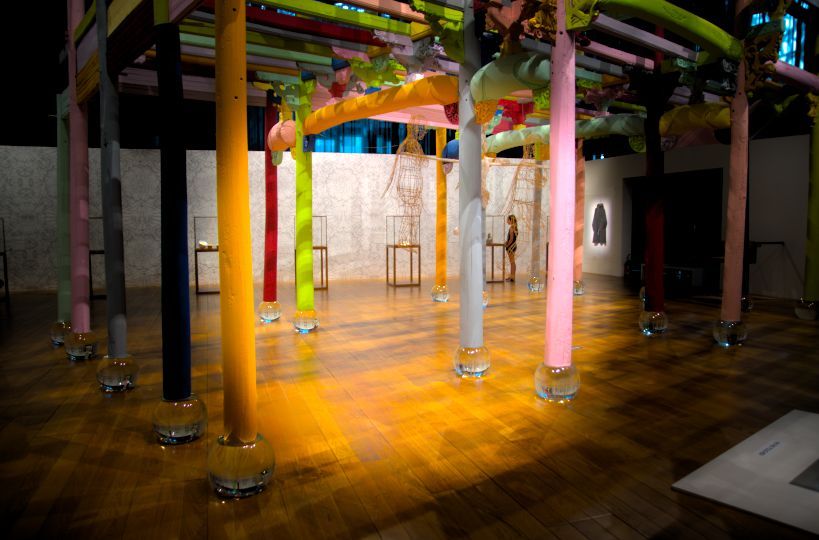
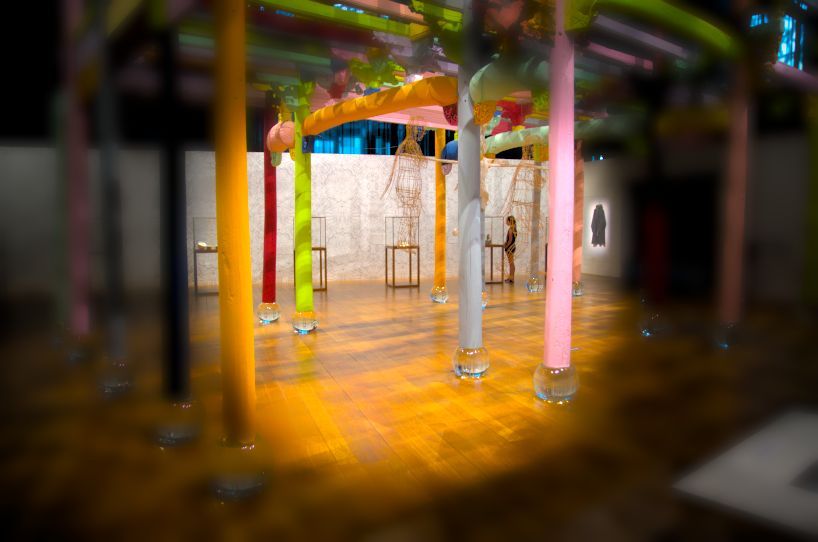
I open the following raw photo with a neutral profile. All the tools in the Exposure section are switched off. This is (part of) an installation called Colored House (2015) by the Chinese artist Ai Weiwei, exposed in the Mucem museum in Marseille, France, 2018.

Then I go to the Local editing tab and activate, and open, the Color Correction tool. On top you'll see this.
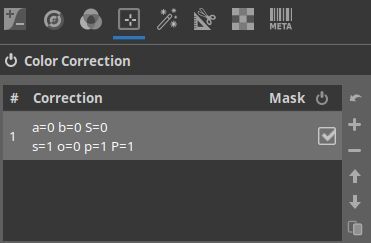
Apparently there is already a mask active. So scroll a bit down to the Mask section, open it and say Show mask.
That gives this.

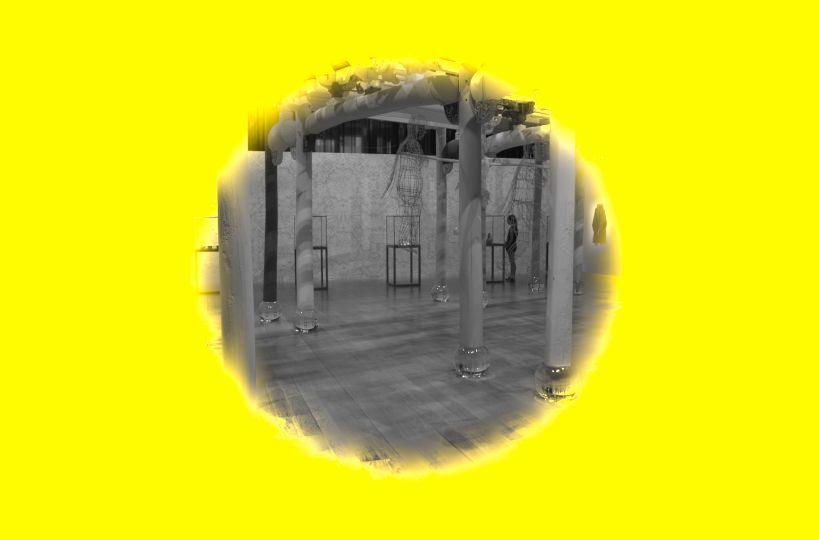
The image turns yellow, that means the mask covers the whole photo. Now do the following. Uncheck the Color Correction tool and activate the fourth tool in this Local editing section, Texture Boost. The image changes visibly. Open the Mask section and say again Show Mask. Everything turns yellow again. What you need to know here is that the last mask and the first one (Color Correction) are two different masks. In fact, every tool here uses its own mask. That's an important thing to understand when we are going to create different masks with different tools.
Back to Color Correction now, so switch off Texture Boost and reactivate Color Correction. I use the sliders under the color grid (in Standard mode) to adapt the exposure. That gives this.
This photo is very close to the jpg that came out of my camera (I always shoot raw+jpg). This works fine with this photo, but not always.
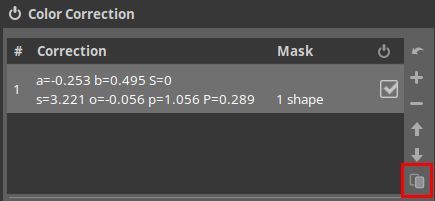
Under # Correction you see a 1 with some values. Those are the values of the sliders I just applied. [Edit. The order of the columns in the screenshot below have been reversed in a later version of ART].
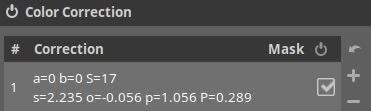
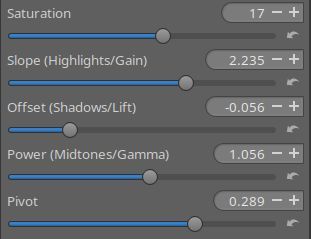
The a and b values are the coordinates of the white point in the color grid (0,0 in this case), the S is Saturation, the s, o, p and P represent the values for the Slope, Offset, Power and Pivot sliders, respectively.
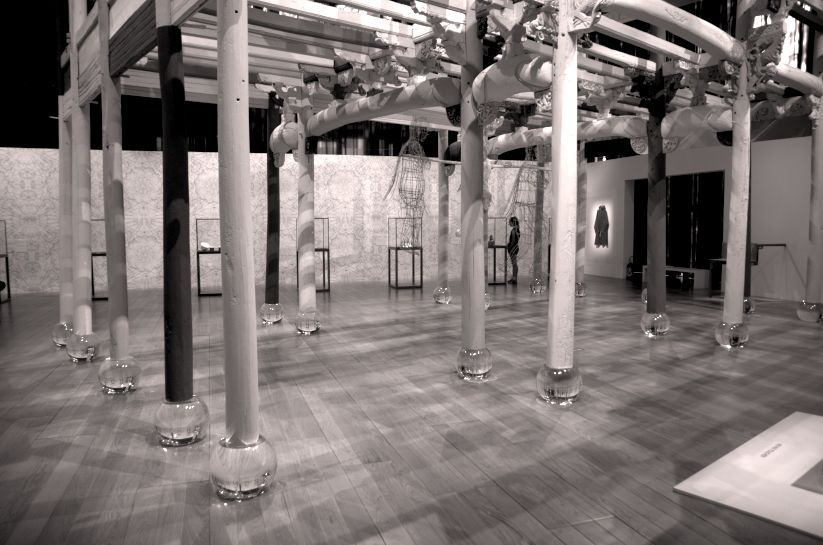
Set Saturation to -100 and the photo turns to black and white. Add a color cast by dragging the white point in the color grid somewhere around.
Of course you can throw a color cast on a colored photo as well, like so.
What we've seen so far is that this tool can be used to adapt exposure and to make - rather fine - black & white versions.
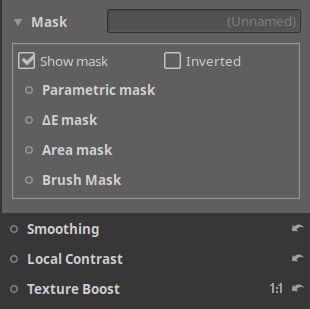
Now we want to change the size of the mask. Instead of covering the whole photo, we want a selection in the center. This is done with the Area Mask. Activate and open that one and you'll see this.
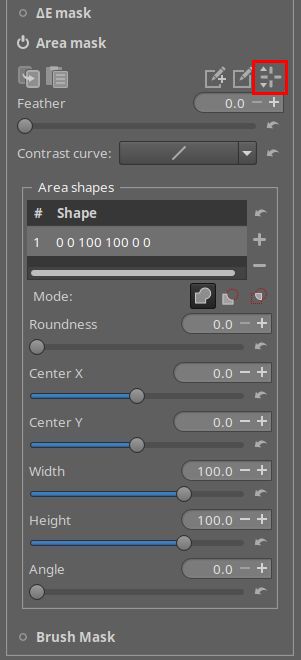
Click on the icon top right to display the current area shape (in red above). That gives this.

Now you can drag the outer lines to make it smaller. Use the inner lines to rotate the mask or drag the center point to move it over the photo. Fine-tune with the sliders under Area shapes.
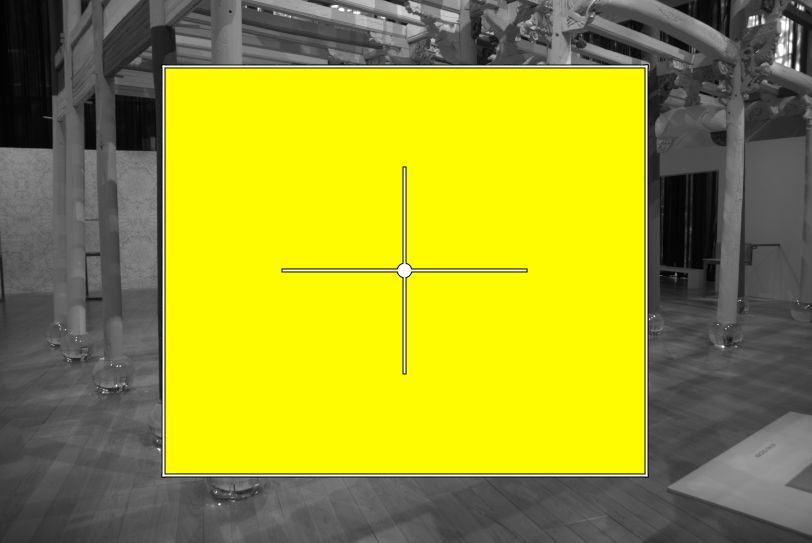
To better see what you select check Inverted at the top of the Mask section, next to Show Mask.
Note the gray part of the photo; that is the non-mask part, the part that is not selected.
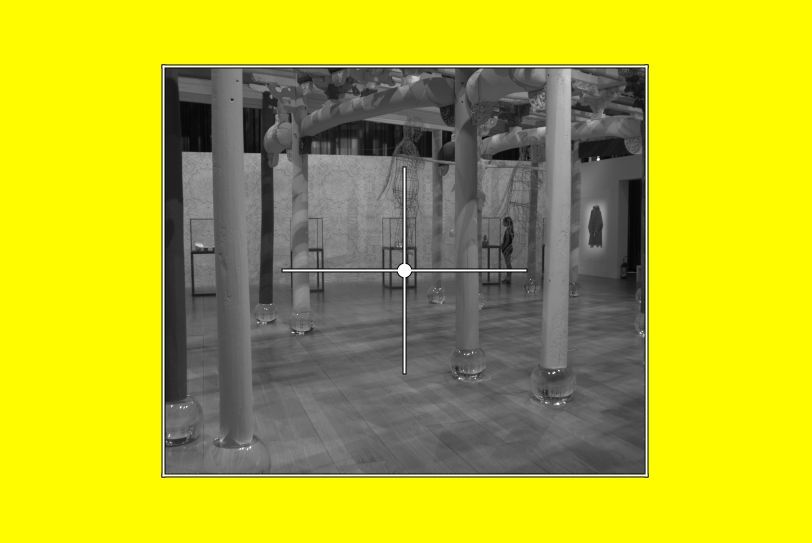
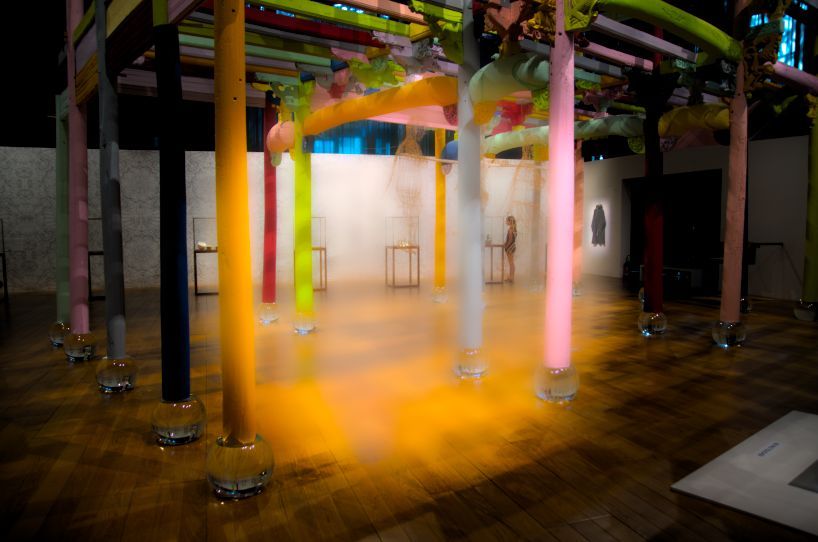
I want a circular shape, so I set Roundness to 100 and adapt the width and height. Now the mask looks like this (with Inverted unchecked again).
Time to edit this mask. I uncheck the Display mask icon and drag the Slope slider under the color grid a bit to the right to make the area brighter. I add a color cast as well by dragging the white point in the grid in north-west direction. That gives this (intentionally overkill).
You can use two sliders to feather or blur the mask. The difference between the two is that the feather tool is edge-aware, whereas the blur tool is not. Using the feather slider gives this.
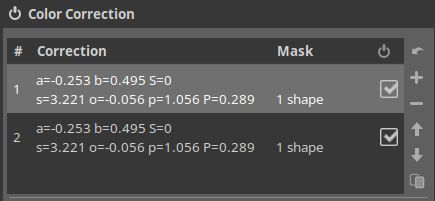
Next step: working on the inverted part of the mask. When you check Inverse next to Show mask, the settings that we used for our mask, will be applied to the non-mask part. We don't want that. Instead, to work on the other part of the image, we must copy the existing mask. For that, on top of this module, click on the copy symbol (in red in the following screenshot).
Now we have this.
Click (= activate) on the new mask entitled #2, scroll down to the Mask section and say Inverted. Click Show mask to confirm that we are indeed working on the part outside of the circle we made before.
Now you can edit this part. I move the sliders under the color grid to make it - intentionally - much darker. This is the result.
The Area masks and the Brush masks can be copied to the clipboard, to use in the other three tools in this Local editing section. For that, first select the mask you want to copy in the top of the Color Correction tool, I take the initial circle, so #1.
Then scroll down to the Area mask section and click on the copy icon just under it (in red).
Go to the Smoothing tool, activate it, open the Mask section, activate and open Area mask and say paste mask from clipboard, that's the icon next to the copy icon. Smooth a lot and that gives this.
Click inverted to apply the smoothing on the non-masked part of the photo.
You can copy a mask to the clipboard and paste it in another photo as well.
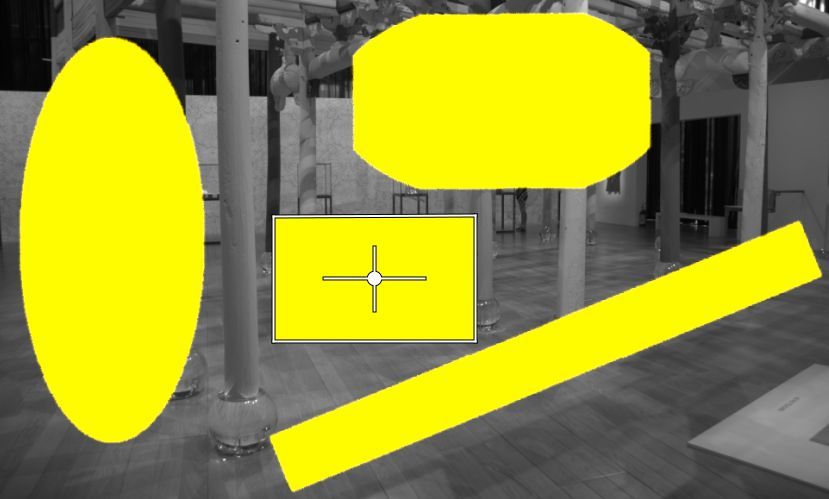
You can also create more masks with different forms on the same photo. For that click on the pencil+ icon on top of the Area mask (in red)...
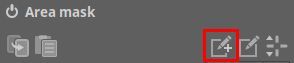
... and create your shape. When done, click again on the pencil+ icon and repeat the procedure, etc.
Area masks are saved automatically in the arp sidecar file when you close the photo. So you can reuse them later on.
_____________