
Although ART is a raw processor, most of its tools can also be used with photos in non-raw formats, like tiffs or jpegs. In this article I'll show you how I brought back to life a scan of a 50+ years old color slide, using the deltaE mask, the brush mask and the new polygonal tool of the area mask, among others.
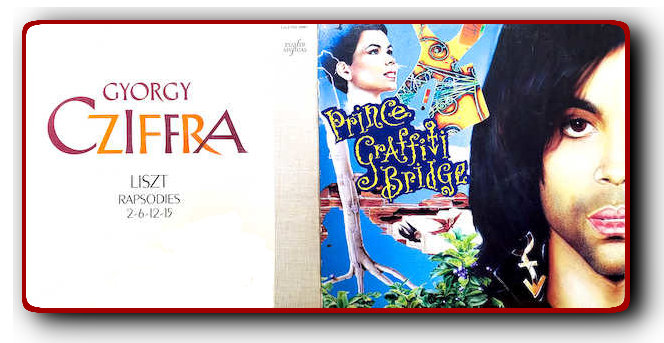
I'm a volunteer in a recycling shop where I take care of the music department (vinyls, audio cassettes) together with friend Pierre. Sometimes we are lucky and we return home with vinyls of Prince or Cziffra or other great musicians.
I always scan the little photo department too, asking myself questions like "Am I going to buy that Durst 6x9 enlarger or what...?". Well, not that one, but I could not resist to a Sigma 2.8/50 macro. It's an old model but still works well and I could have it for nearly nothing. People throw away their old gear because their smartphones can take photos as well. Well okay, thanks!
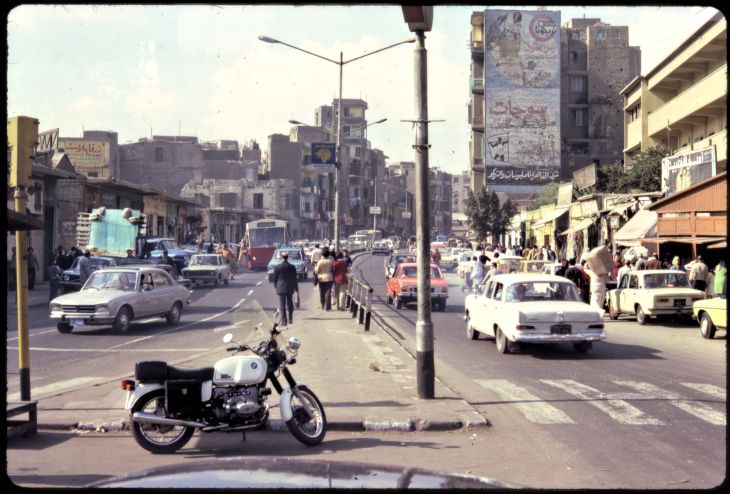
Another day I saw some boxes with color slides, with labels like Egypt, Greece, Famous Paintings and the like. They were quite old but I thought, let's have a look. Together with the slides I bought a Rollei projector as well, for a whooping total of 20 euros!
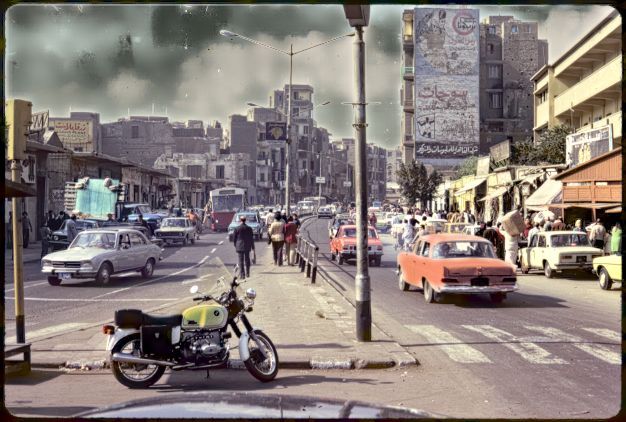
My little treasure consisted of nine boxes, each with two cassettes, so 18 rolls of film in total. At home I powered on the projector and placed a first cassette in it. The autofocus did its noisy work, the fan was blowing like a 747 taking off - but I was watching a series of photos made in Egypt, by the former owner. Pyramids, lots of ancient statues, a boat trip on the Nile (I guess) and other typical touristic shots. Judging the cars on the photos, I guess they were made somewhere in the 70s. Some of the photos were really very nice, especially those taken in the streets. That might be because I love street photography myself.
I scanned some slides using an Epson Perfection Photo 3200 scanner. That's not the quality of a Nikon Coolscan (nor the price), but the advantage is that it scans 120 rolls and 4x5 sheets as well. I used to shoot many years with a Mamiya 645, so I've quite a collection of roll films. That's why I bought this model, be it many years ago.
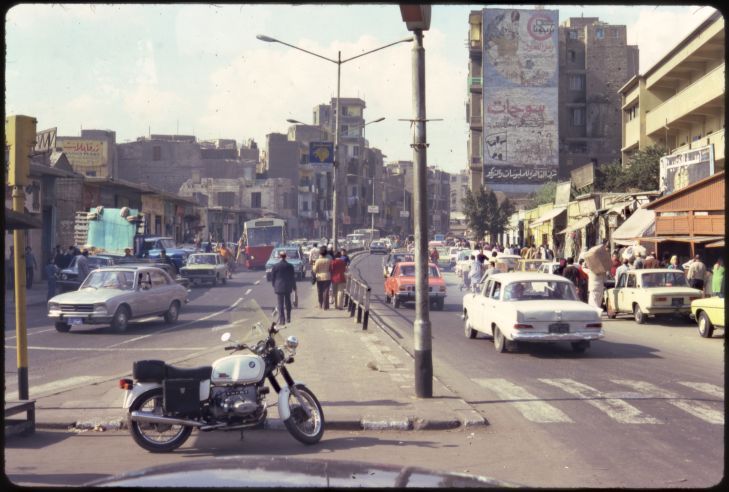
Following is a basic scan at 3200 ppi of one of the slides. This scanner works at 8-bit only, so the first thing I do before any further processing is to promote the scan to a 16-bit tiff.
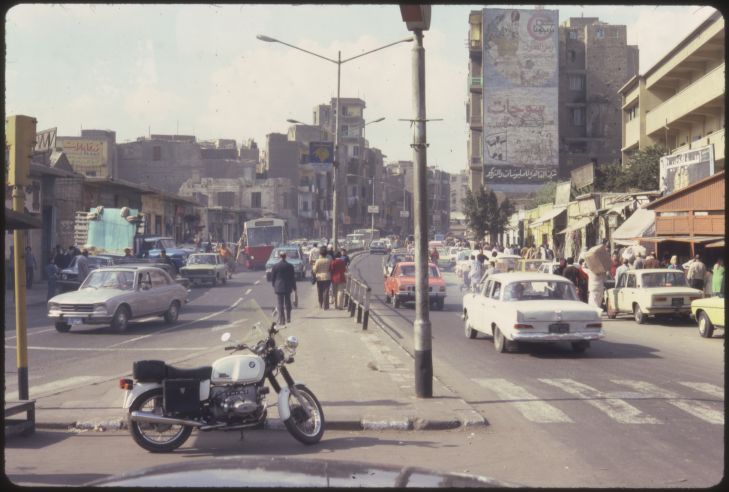
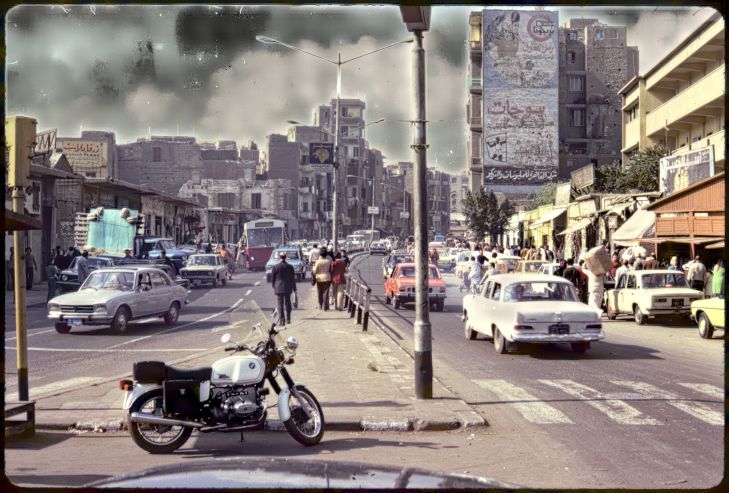
Activating the Log Tone Mapping (in the Exposure section) plus Haze Removal (under Special Effects) gives this. Notice the sky, there are still details visible, I'll come back to that later.
Under Local Editing I activate the Local Contrast tool and move the curve a little bit up to add a bit of punch to the photo, like so.
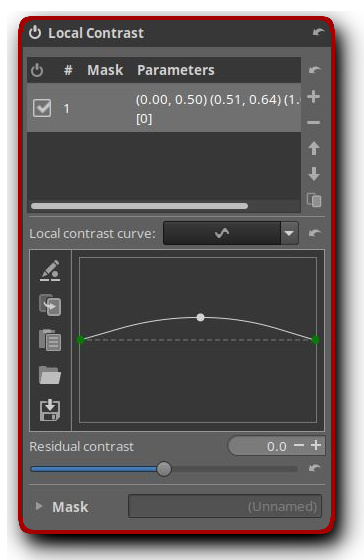
That gives this. Don't forget to try the Residual contrast slider, it changes the appearance of a photo a lot. In fact, those effects resemble those of the Wavelet tool in RawTherapee, section Residual image. For this photo, I leave it untouched.
As the last step I apply a bit of sharpening (Detail section, RL Deconvolution) and use the Smoothing mask (in Local Editing) to denoise the photo a bit. At this point we have a usable photo that can be published on the web or printed.
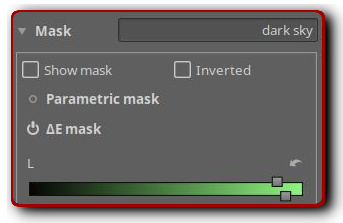
Now let's play with the masks of ART to make this image swing a bit more. First I want to work on the sky to see what details are still available there. I use the ΔE mask (deltaE) for that and pick a color (a point) in the sky and say Show mask. Now I use the sliders to fine-tune the mask, so that it merely covers the sky.
I uncheck Show mask and drag the sliders under the color matrix: slope and offset all the way left, power to max (right) and I fine-tune with the pivot slider until I get something like this.
I'll give this mask a name: dark sky.
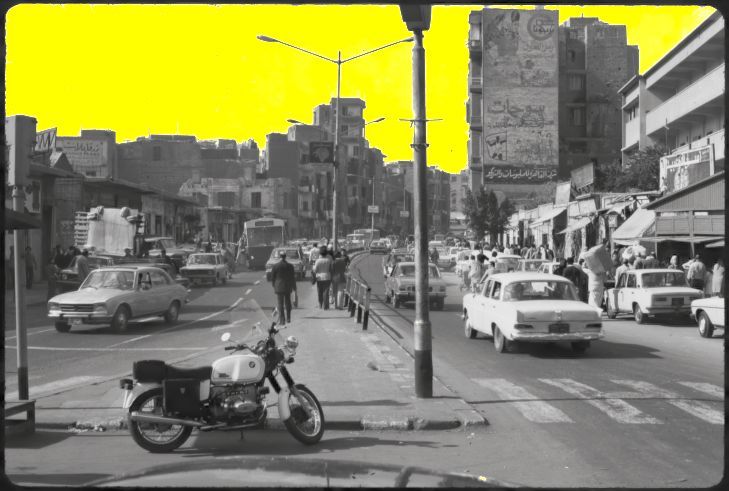
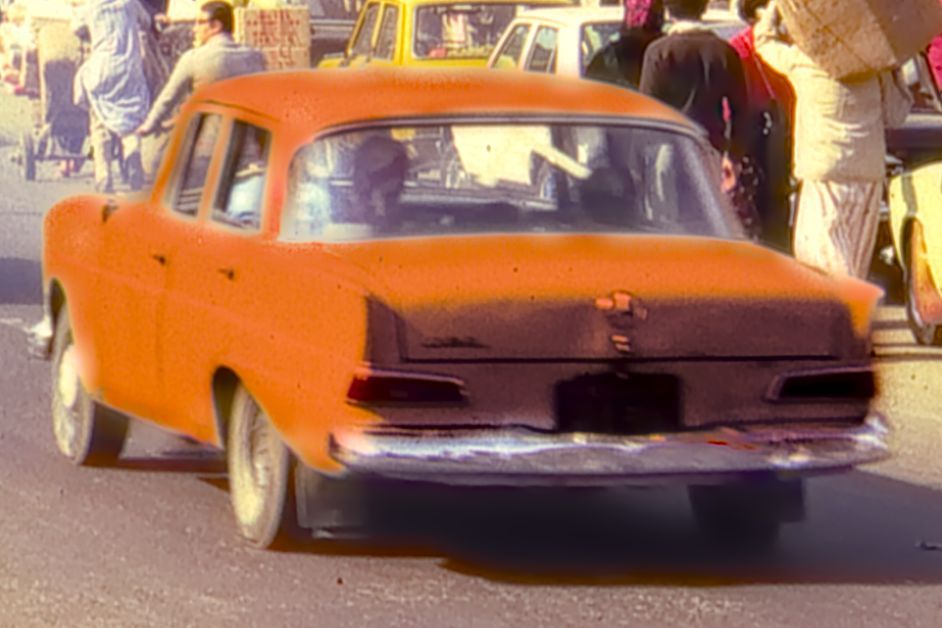
Now that car. I use the Brush mask to select it, then play again with the color sliders to make the car red. The mask looks like this...

... and the car (a very very little bit) like a Little Red Corvette!
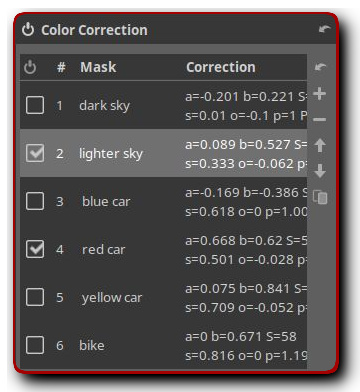
At this point I'm not sure about that sky, it's a bit too dark perhaps. So I copy the mask called dark sky by selecting it in the list under Color Correction. Then I click on the copy icon (the lowest one). I select the new mask (which inherits of course the settings from the dark sky mask) and changes its name to 'lighter sky'. Using the sliders under the color matrix, I change the appearance of the sky to something like this.
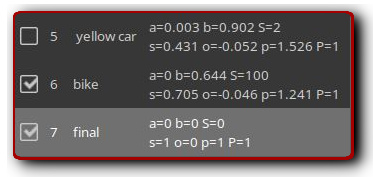
I do the same for the car: I copy that mask two times, in order to make a blue car and a yellow one. I label them accordingly. Now I can choose between two skies and three cars. The mask list looks so (forget about the bike mask for the moment).
Another way to do this is by making snapshots. Use just two masks, one for the sky and the other for the car. Make the sky dark and the car red and make a snapshot. Repeat with blue and yellow for the car. Now make the sky lighter and repeat the procedure. You'll end up with six snapshots that do the same as the above masks.
With the Area mask, available since ART v1.0, one can create different shapes like rectangles, squares or circles - but no free form, that is any shape you like. That has changed in version 1.3 that appeared in May 2020. This feature is implemented by a long-term developer of RawTherapee called Hombre. A nice example of open-source software development: a developer of another project jumps in and says "Hey, I can do that!". And he did that.
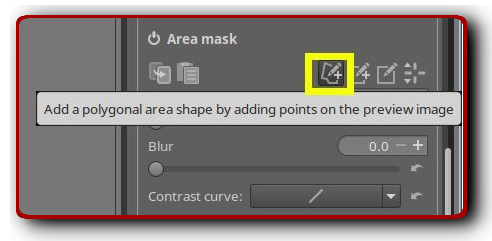
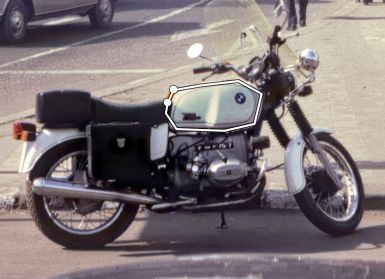
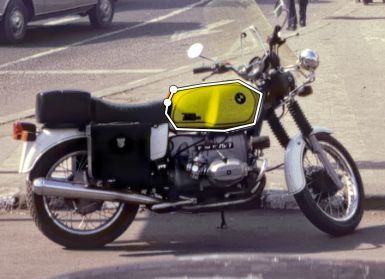
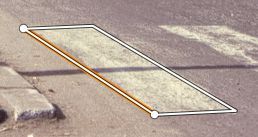
To use this, click on the new icon in the Area mask (in yellow above). I want this to be a stand-alone mask (so not one that adds or interferes with an existing mask). Therefore I create a new mask in the Mask section of the Color correction panel, by clicking on the + sign. Then I scroll down to the mask section and activate the area mask. Now click that left button, hold the Ctrl key and click somewhere in the preview area to mark the first point. Click again on another point and you'll see a line. Continue until you selected the desired area, in this case I made a mask that covers the fuel tank of the motorcycle.
Some more coloring...
To better judge the result, click on the right icon on top of the Area mask panel. When it is pressed, it has a dark color and shows the mask contours, unpressed it is gray and the mask contours aren't shown.
Now zoom in...
And use the feather and blur sliders of the area mask to make the coloring smoother.
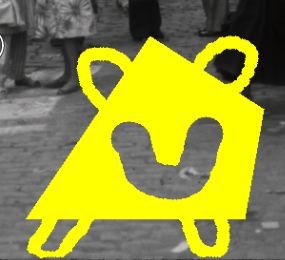
Perhaps you say at this point, "Hey, I could have done that as well with the existing brush mask, so why add another tool?". That's right in this particular case, but when you want to create a mask with longer straight lines, then this polygonal tool is simply faster than the brush tool. Like this one for example.
You couldn't make this mask shape without some substract and/or intersect actions with the original area mask tool, so kudos to Hombre!
You can combine the two tools as well. The mask in the next screenshot consists of a polygonal mask, with the four 'ears' added with the brush mask; the 'smiley' in the centre was made with the brush mask in eraser mode.
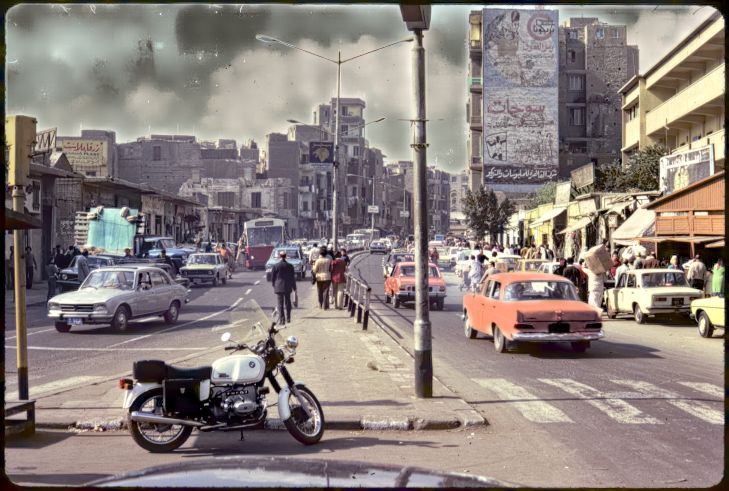
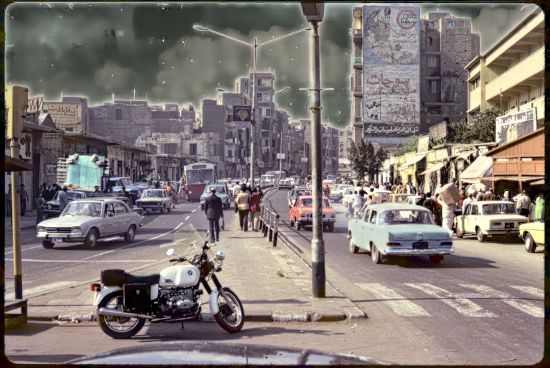
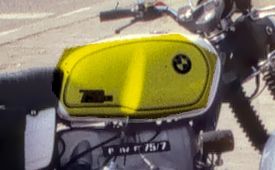
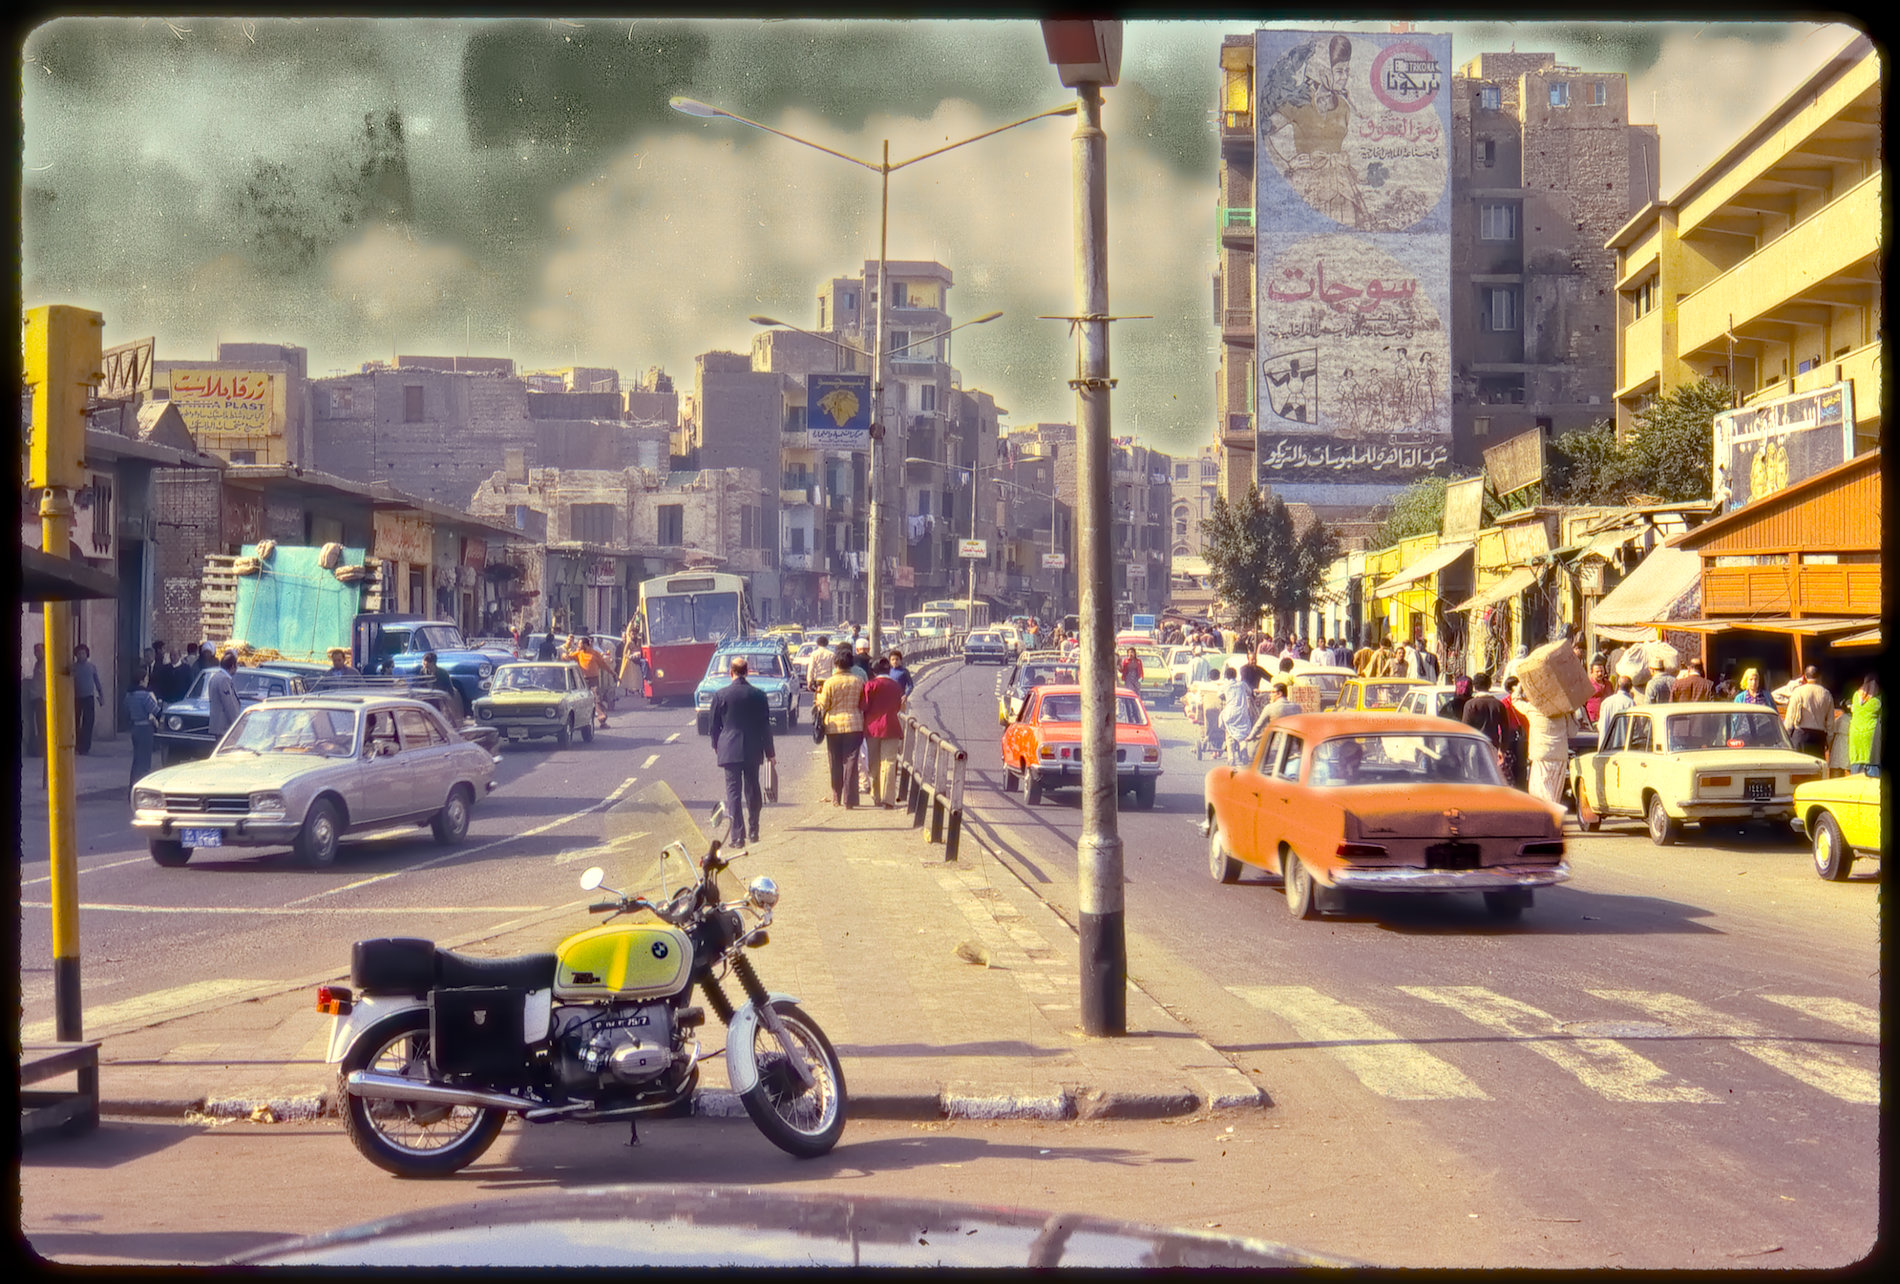
To finalize this picture, I select one more time the sky - the dark version - and adapt to taste. I choose the red car and I make the fuel tank of the motorbike yellow. That gives the following. Remember that it's easy to change all the colors here, including the exposure. Just select the mask you want to change and go ahead.
To my taste this photo can be enhanced somewhat with an overall exposure correction and a bit more of color. I could use the regular saturation & vibrance slider in the color section, but we have more color choice when doing this again via a mask. So go to the list with the masks (sky, car...) and click again on the + sign to create a new mask that covers the whole photo, so including the other masks. I call it 'final'.
Now play again with the sliders under the color matrix to adapt the exposure, then find a colorcast to your taste by dragging the white point in the matrix, and lastly, drag the saturation slider there until you say 'Wow!', or something else.
One more thing. Some of you will notice that the red car isn't a Little Red Corvette at all, and second, the mask is not very precise. You're two times right.

Even after making something that's considered final, you still can change anything you like in this composition. I'll correct the car mask with a bit more precision, using the brush mask again. Better so?
This is the (a, mine, for now) final image. Maybe I'll make a totally different version tomorrow.
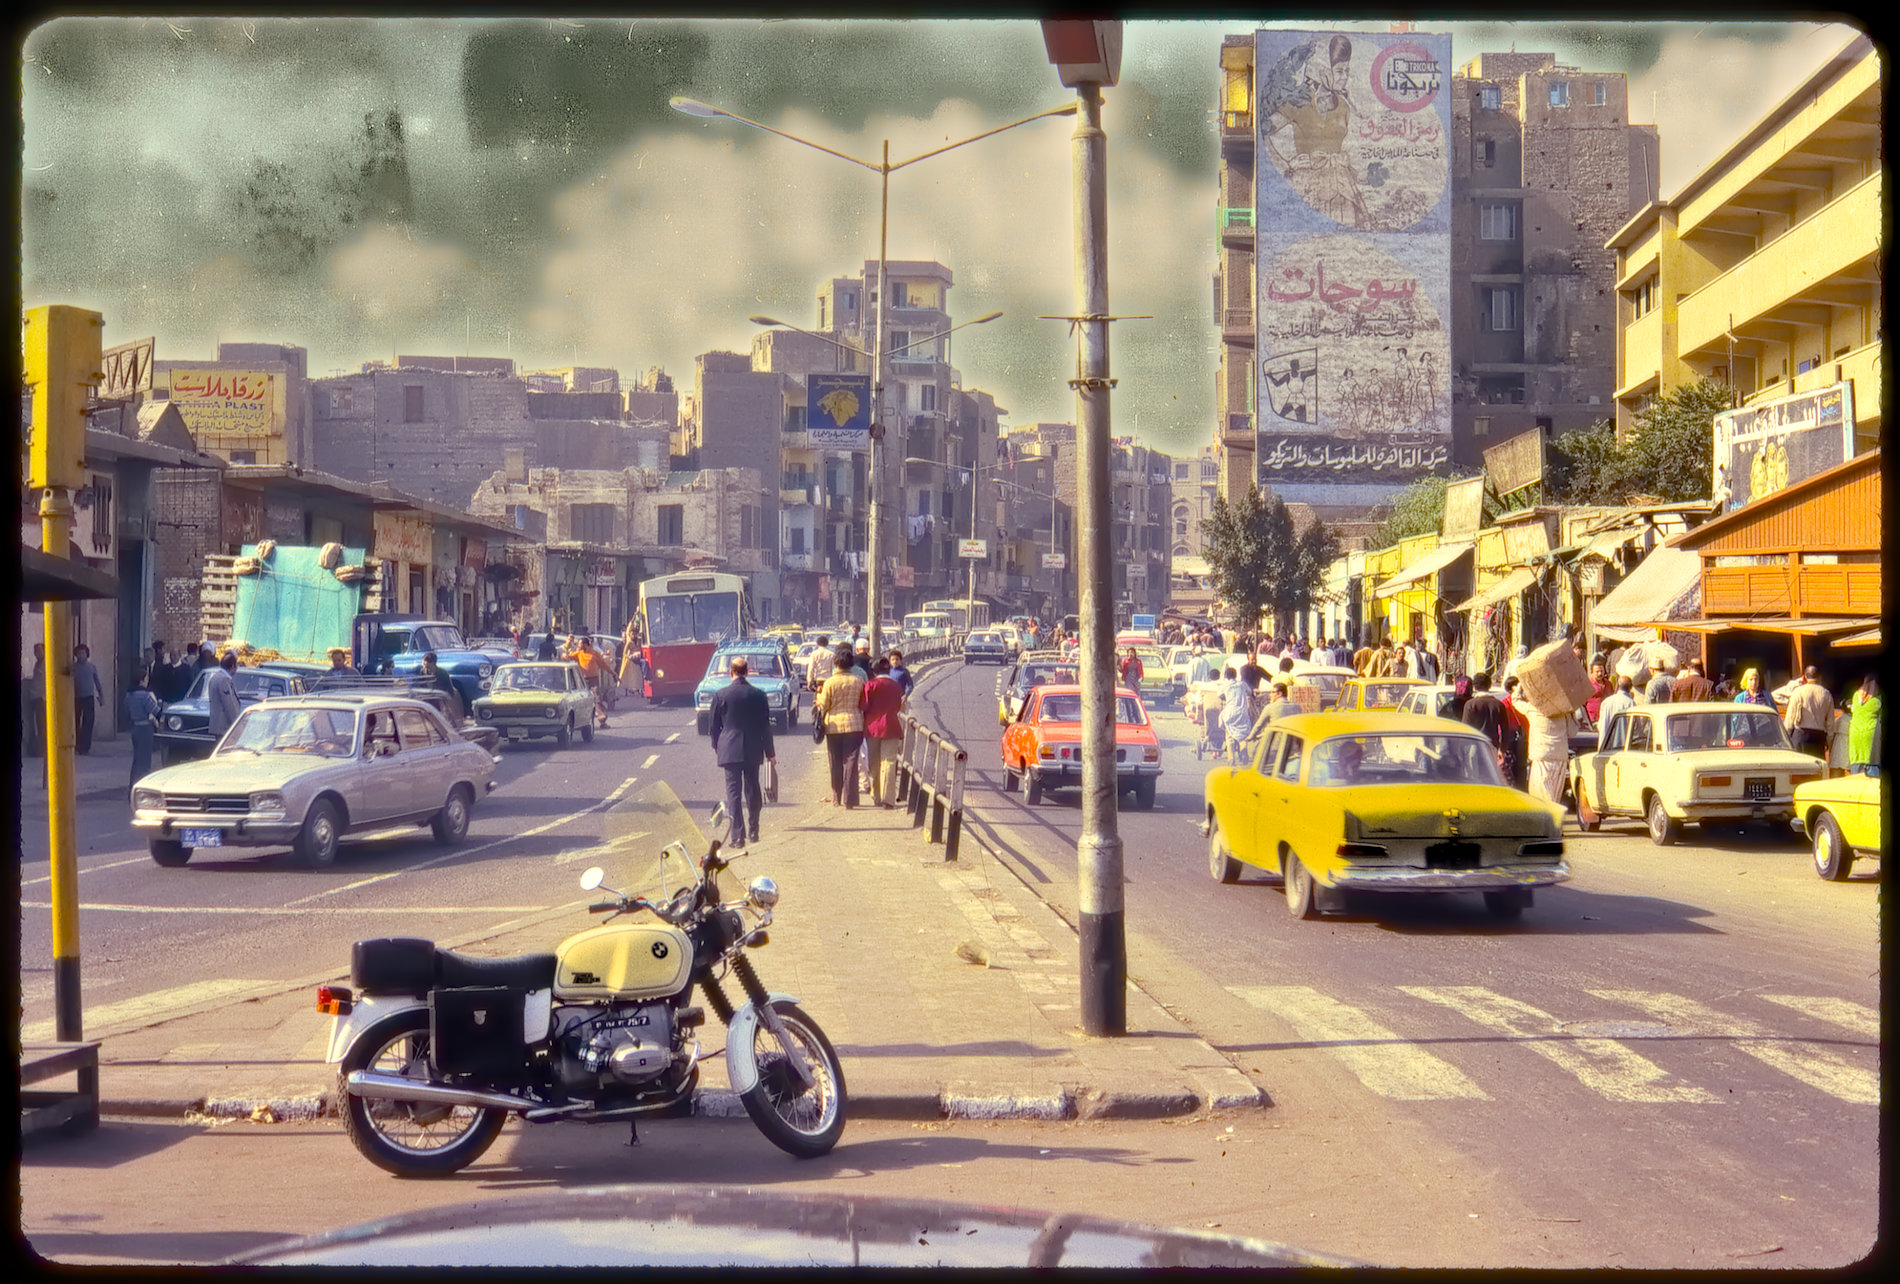
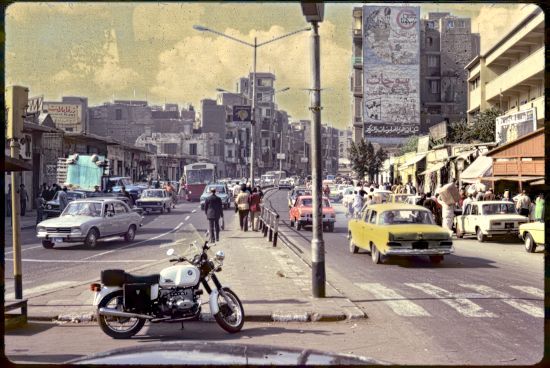
And to compare, the original scan (don't say you prefer that one!).
_____________