


Since version 1.1, ART offers some more ways to create masks, including the very practical Brush mask. In this article I'll show you how to use the deltaE mask and the Brush mask on the same photo.
I open the following raw file with the default profile. That means that the module Tone Curves in the Exposure section is active and that the Auto-Matched Tone Curve is applied. I adapt the exposure a bit further by using the Tone Equalizer.
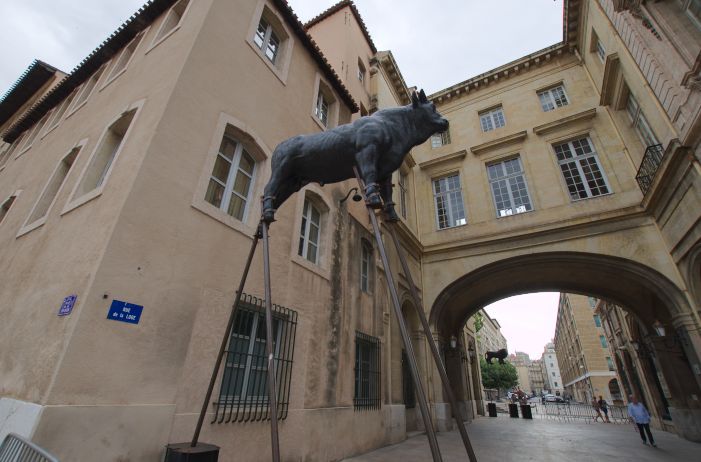
Well, that looks boring, doesn't it? Let's do something about that. I want to colorize and burn the sky, including that piece of the sky in the background under the tunnel. Then I'm going to paint the bull on the foreground, as well as his little brother at the other side of the tunnel. [Edit. Upon closer inspection, his 'brother' turns out to be a lion!]. Lastly I want to repaint the walls of the building.
The best tool to select a region with more or less similar colors is the deltaE mask, although you can use the brush mask as well (and even the area mask if you prefer a more complicated way!). So I go to the Local Editing tab in ART and click on the power symbol in front of Color Correction to activate this tool. You'll see this.
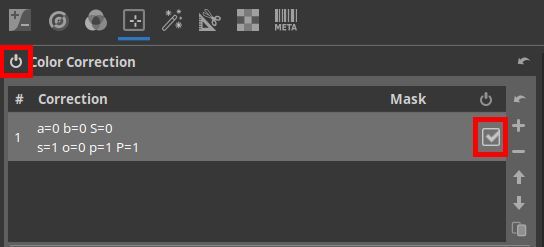
As you can see on the right side, there is already a mask active (in red). I already wrote in the article about Area masks that once you activate one of the four tools in the Local Edit section, a mask that covers the whole photo is instantly created. You can now add for example a colorcast to the whole photo by dragging the white dot in the color matrix somewhere around, or change the exposure with the sliders below the matrix. Any changes you made can be disabled by unchecking the mask entry at the right side or by resetting the sliders to their default values.
Open the Mask entry under the five sliders and click on Show Mask.

This is the initial mask, covering, again, the whole photo.
Now activate and open the deltaE mask.
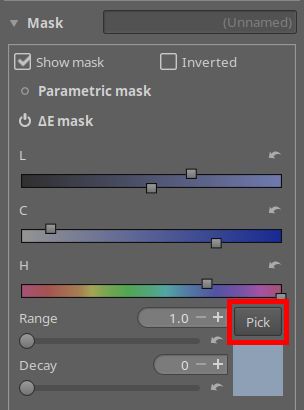
I click the Pick button (in red) and click somewhere in the sky. The black colored box below the Pick button changes to the color of the sky. 'Show mask' gives the following.
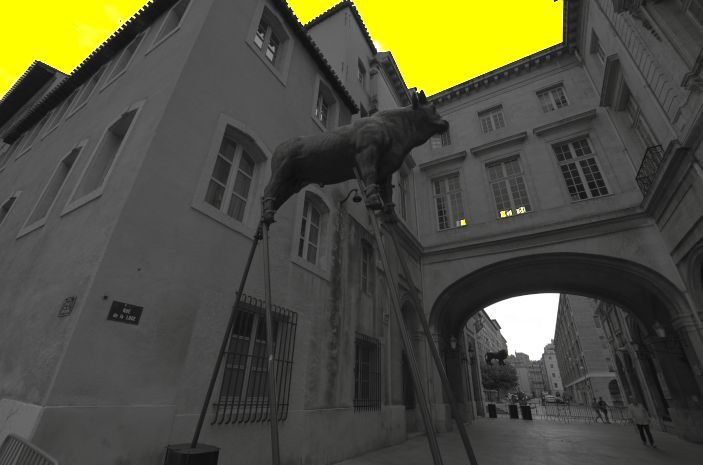
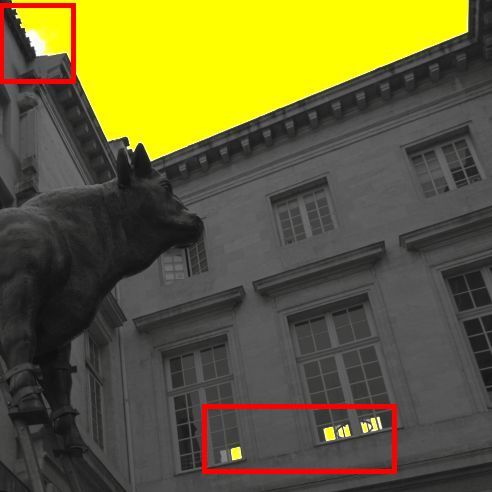
Not bad, but not perfect as well. The part of the sky under the tunnel isn't selected, the mask extends to some parts of the windows and there's a white spot next to the roof.
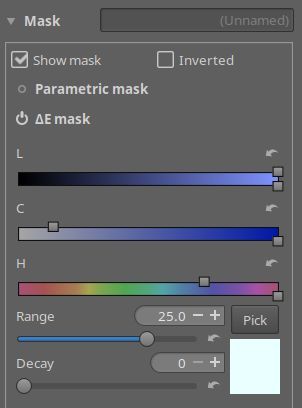
Of course we can make a second mask to cover the missing part of the sky, but by changing the sliders in the deltaE mask, we can do this at the same time. Here I changed the L and C slider, and the Range slider, like so.
That gives this.
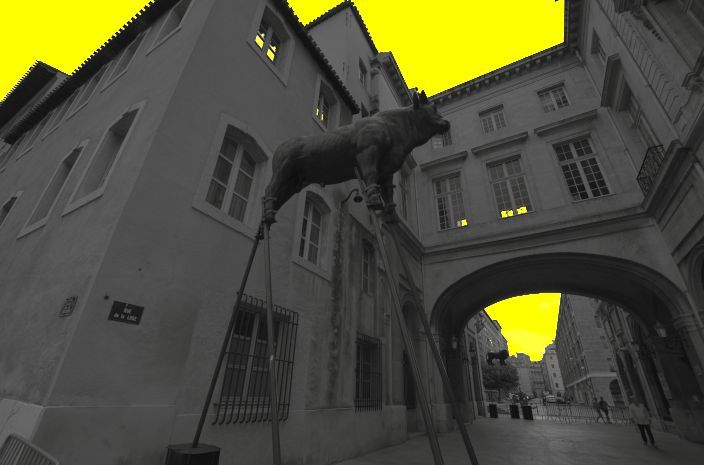
The yellow parts of the mask in the windows can be erased easily with the Brush mask. So activate and open Brush mask.
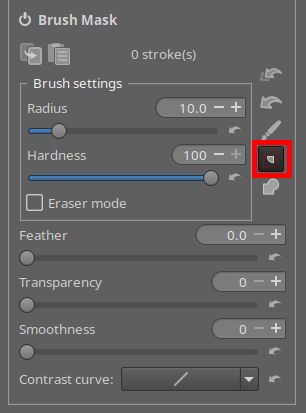
But hey, where has our previous mask gone? No yellow parts anymore, only a grayscale image and that means: no mask.
The solution is simple. By default the Brush mask has the button with the tooltip 'Intersect the brush mask with the other masks' activated, indicated in red above. You must click on the button below that one, that says 'Add the brush mask on top of the other masks'. Now we have the mask back. To 'un-mask' the yellow parts in the windows, set the Brush mask to Eraser mode and click on the pencil icon. It turns black, indicating that you can use the brush right now. You don't have to be precise here, just touch the yellow parts. I used a brush radius of 25.
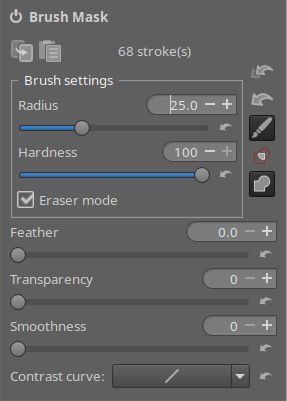
And that's a big brush.
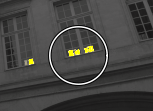
The resulting mask.
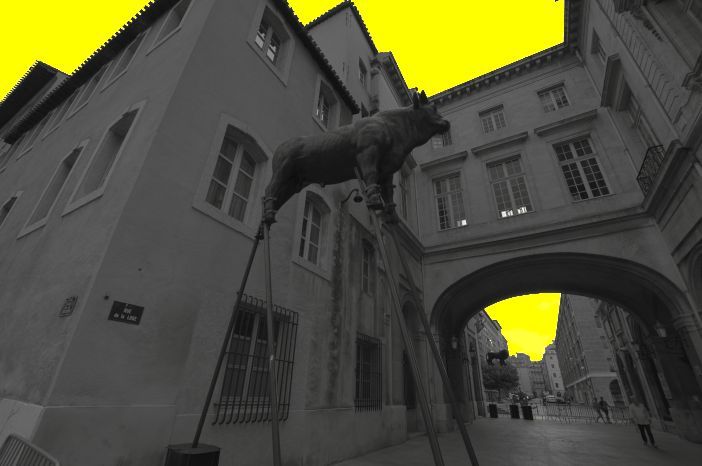
I'll give this mask the name 'sky', for easier reference later on. Next to the Mask entry, there's a field that says 'unnamed', give it a name here.
Time for some coloring now. I switch off Show mask and choose the HSL factors mode, on top of the Color Correction module. I use the following settings.
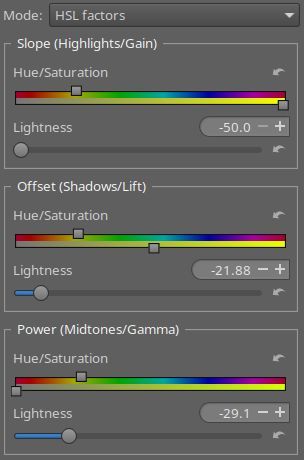
That results in this.
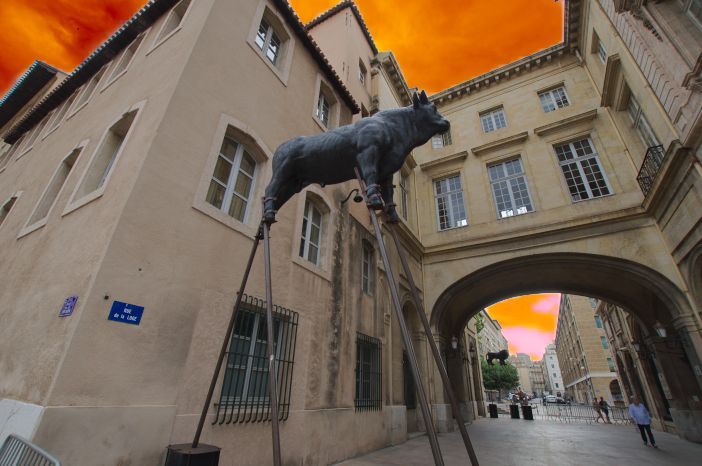
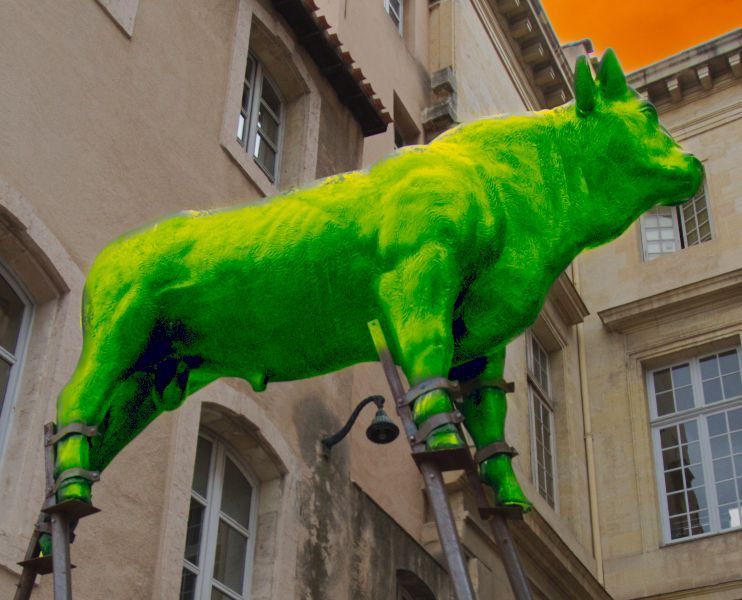
On with the bull. To select the animal we must use the brush mask, as its form is irregular. First I create a new mask in the Correction window on top of Color Correction, by clicking on the plus sign.
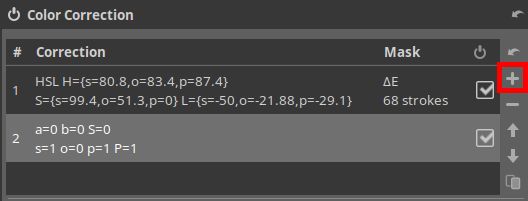
I scroll down to the mask section and see that no mask is activated yet. This is correct, because we're creating a new mask. I activate and open the Brush mask with its standard settings and say Show mask.
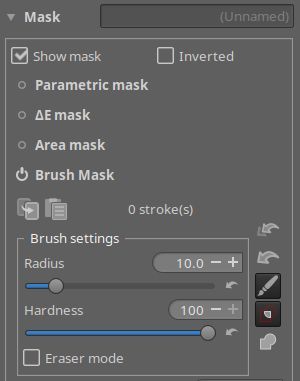
Same story as above, the resulting image is grayscale, meaning there is no mask. Because we are working on an new mask (we have selected that one), the mask of the sky that we made above is not shown here. Now we can start to paint the mask. First some rough strokes.
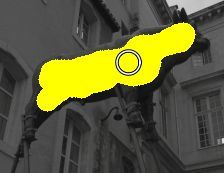
Of course we must zoom in here to make a decent mask. One way to do that is to open a detail window by clicking on the + icon at the bottom of the preview window. Now you'll see a red square in the middle of the preview window. That's the area that will be shown in the detail window. To move this square to another part of the photo, you must first deselect the pencil (the icon) in the Brush mask. Then place it where you want, then reselect the pencil to continue drawing.
You can paint inside the detail window as well.
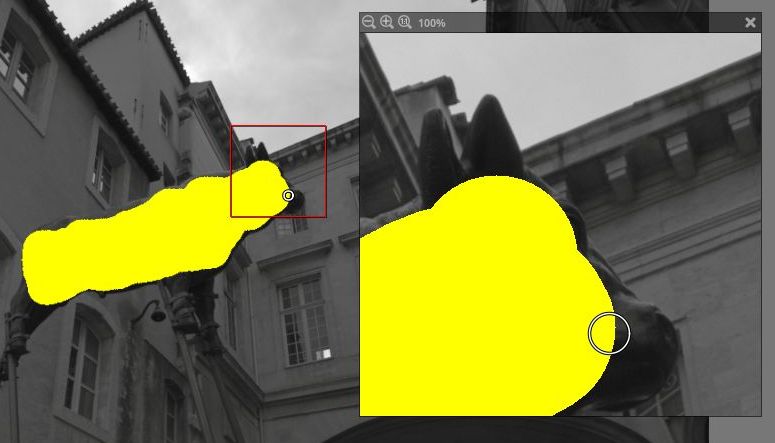
In the same way I treat the lion at the other side of the tunnel. I use again the HSL factors mode to paint. When done, I'll name this mask 'bull+lion'.
When we examine the bull in greater detail, we see some irregularities at the edges of the mask.
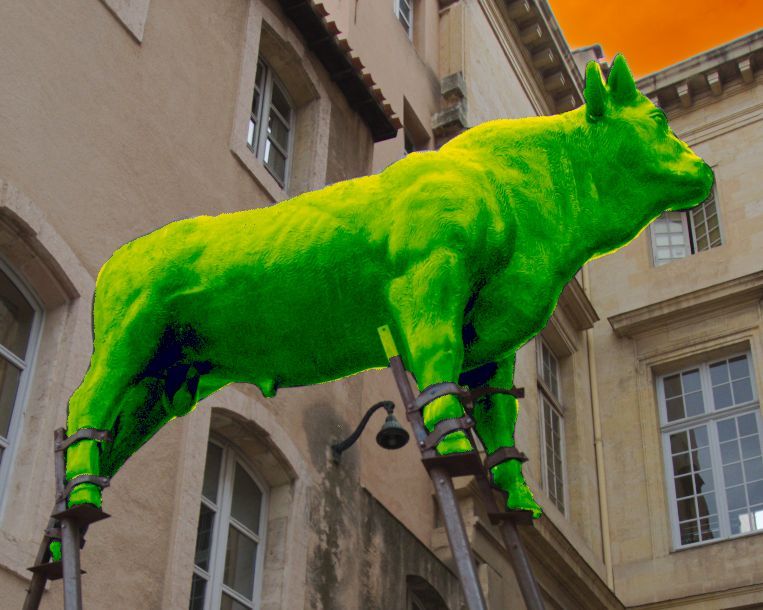
On the right side, under its neck, there's a yellow line. That's where the mask exceeded the shape of the bull. On the left side you see some black lines; here the mask wasn't covering the bull completely. You have several options to repair that. One is to use a very small brush size (0.2 or so) and make the mask more perfect. Another possibility is to use the instruments in the brush mask: the feather and/or smoothness sliders. I used the following settings to get rid of most of those irregularities.

Last thing to do is to repaint the walls of the building. Same procedure: 1. create a new mask; 2. activate the deltaE mask and click somewhere on the building; 3. say Show mask and refine the mask with the L&C sliders, adapt the Range slider as needed; 4. use the Brush mask in eraser mode to erase parts of the mask that fall outside of the building (the street on the foreground for example); 5. repaint.
When finished, I went back to the Exposure tab to adapt the overall exposure and contrast. This is the result.
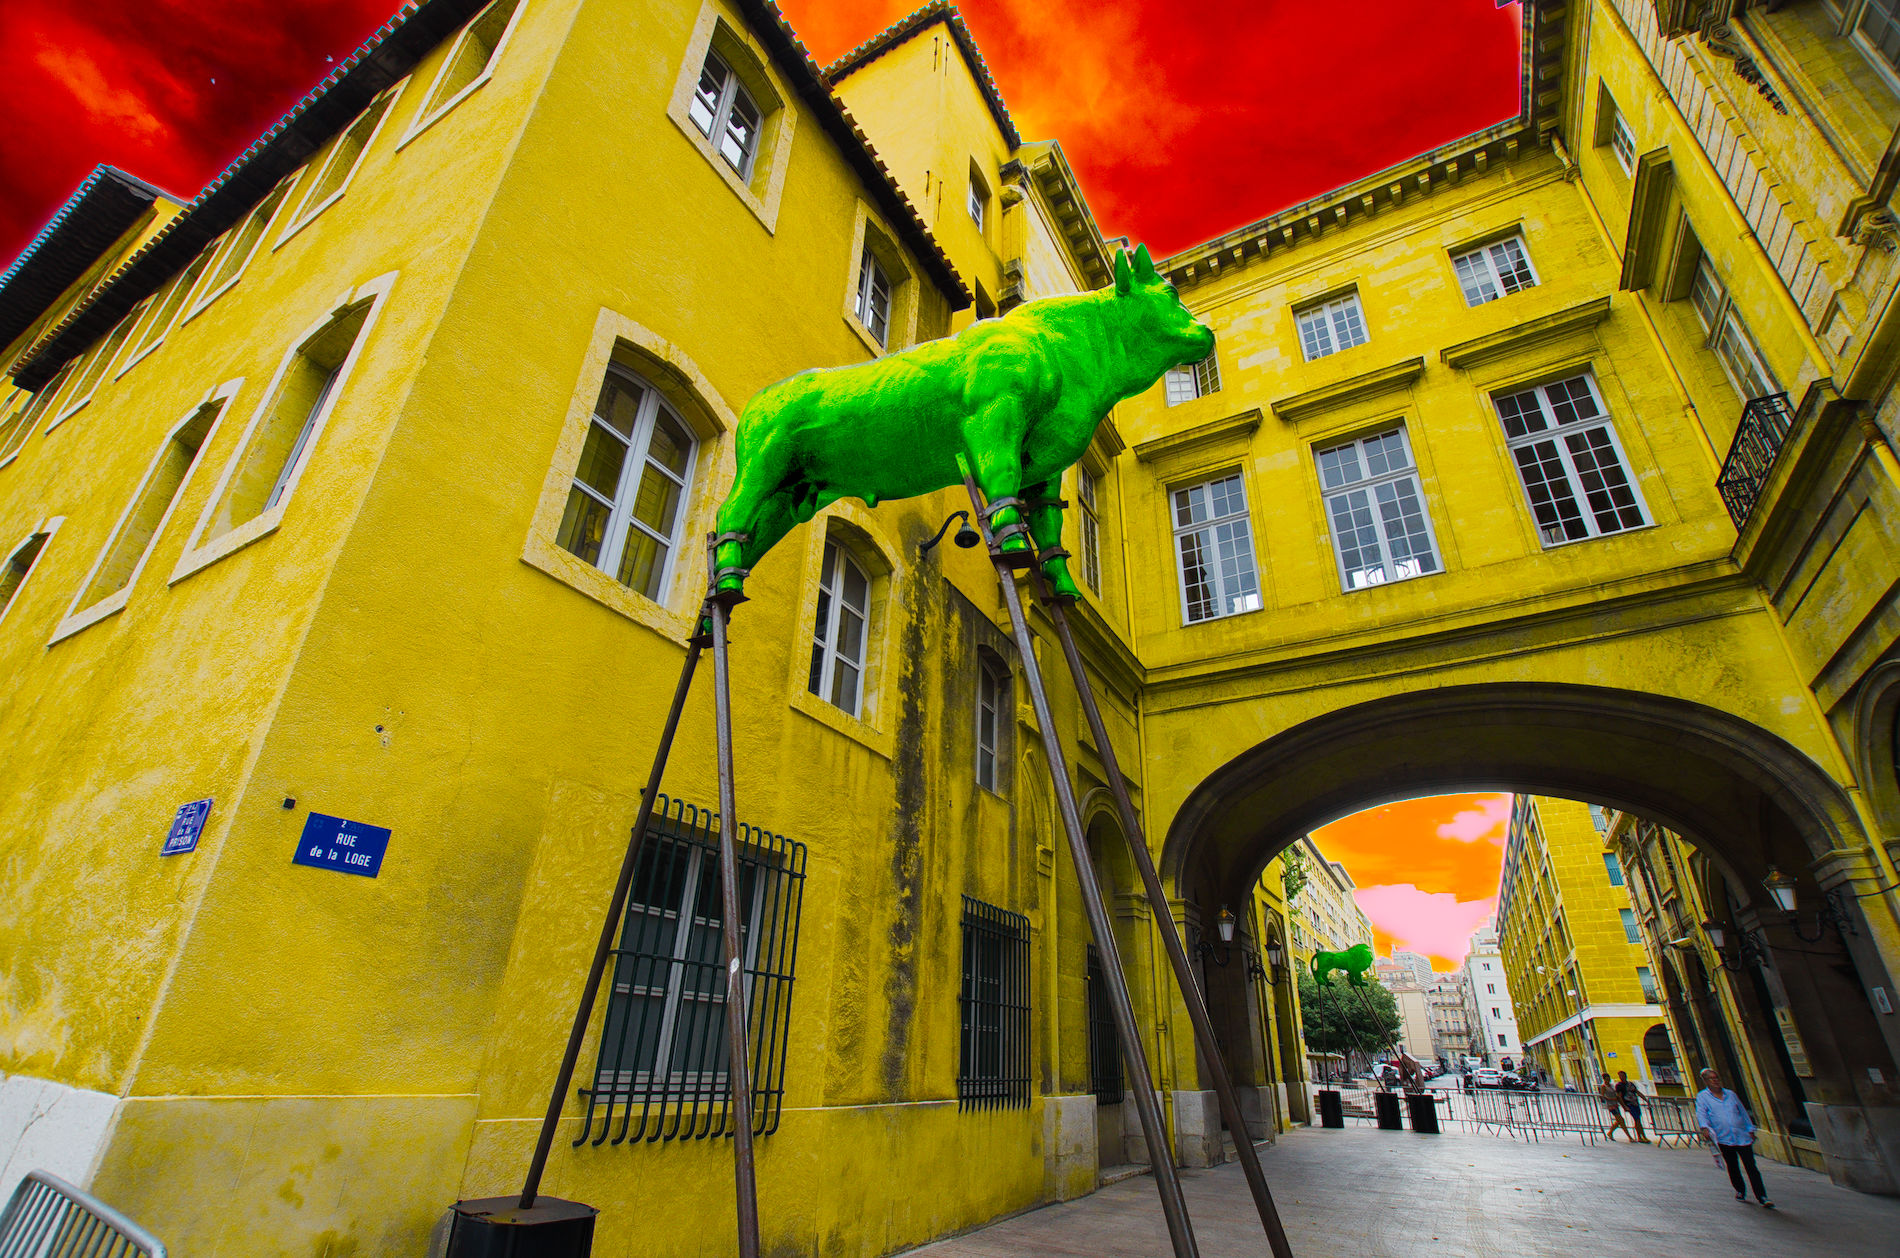
[Right-click - Show image - F11 for a bigger view]
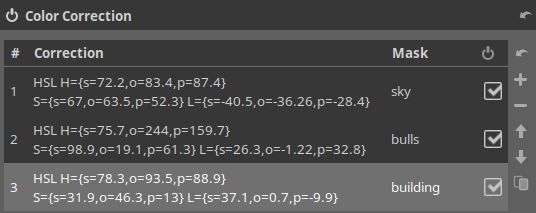
After creating the third mask, the masks section looks so. Here you can disable masks or delete them, or copy them... Once you're finished, make a snapshot of your work (left panel, under the History section, click on the + sign or hit Alt+s; you can change the default name Snapshot1 by clicking on that name). This way your masks will be saved in the arp sidecar file, so you can use them a next time again. Depending on your mood that next time, you can make the bulls red, the building black&white and the sky deep purple. For example!
_____________