
gThumb has recently been given a modern GTK3 look and therefore has a dark interface. This can not be changed.
The main window looks like this.
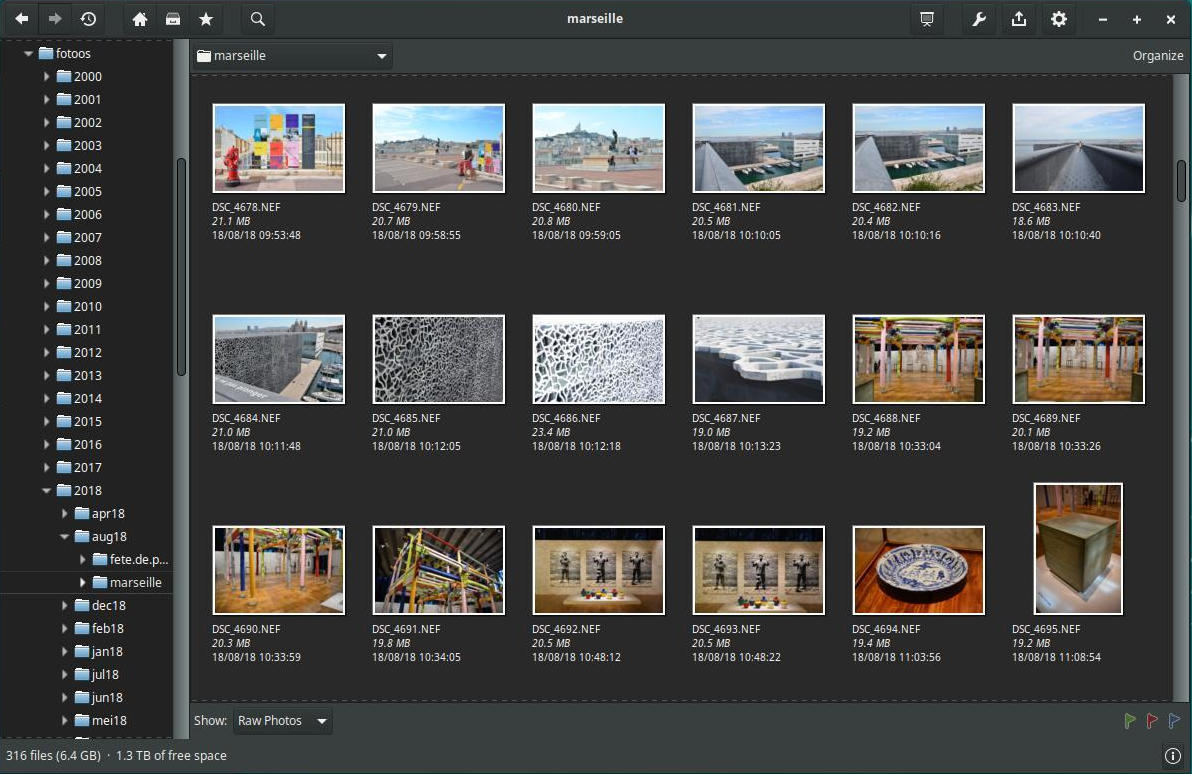
(mouse)
On the left the file tree (F9 to show/hide), choose a folder and the photos are shown as thumbnails. This may take a while for folders with many photos. The size of the thumbnails can be set in Preferences. The i gives concise exif info of the selected thumbnail, or click on the I-icon at the bottom right.
Click on a thumbnail, or press Enter, and the photo appears larger. Press F8 and the thumbnail bar appears. With Z the photo is displayed at 100%, use the arrow keys to scroll around, use Shift+arrows to scroll faster, type X to go back to full view. Zoom in or out with + or -. Display previous/next photo: Page up and Page down. Space and Backspace do the same, but the arrows do not work (they are reserved for the Edit section). With Esc you return to the thumbnail view.
Select a thumbnail or open a photo, type E and you will enter the edit mode. Here you can perform simple standard operations, such as adjusting brightness and contrast, sharpening, rotating, cropping or scaling. Lomo effects and the like are also on sale there. Look around!
Please note: if you edit a jpg and you click Accept, you will be asked if you want to save the changes. If you say yes, your original jpg will be overwritten! Of course we don't want this, so first make a duplicate of the original before editing it: Ctrl+D. The copy ends up next to the original. You can also edit a raw this way, but saving the result is not possible (of course, as gThumb is not a raw convertor!).
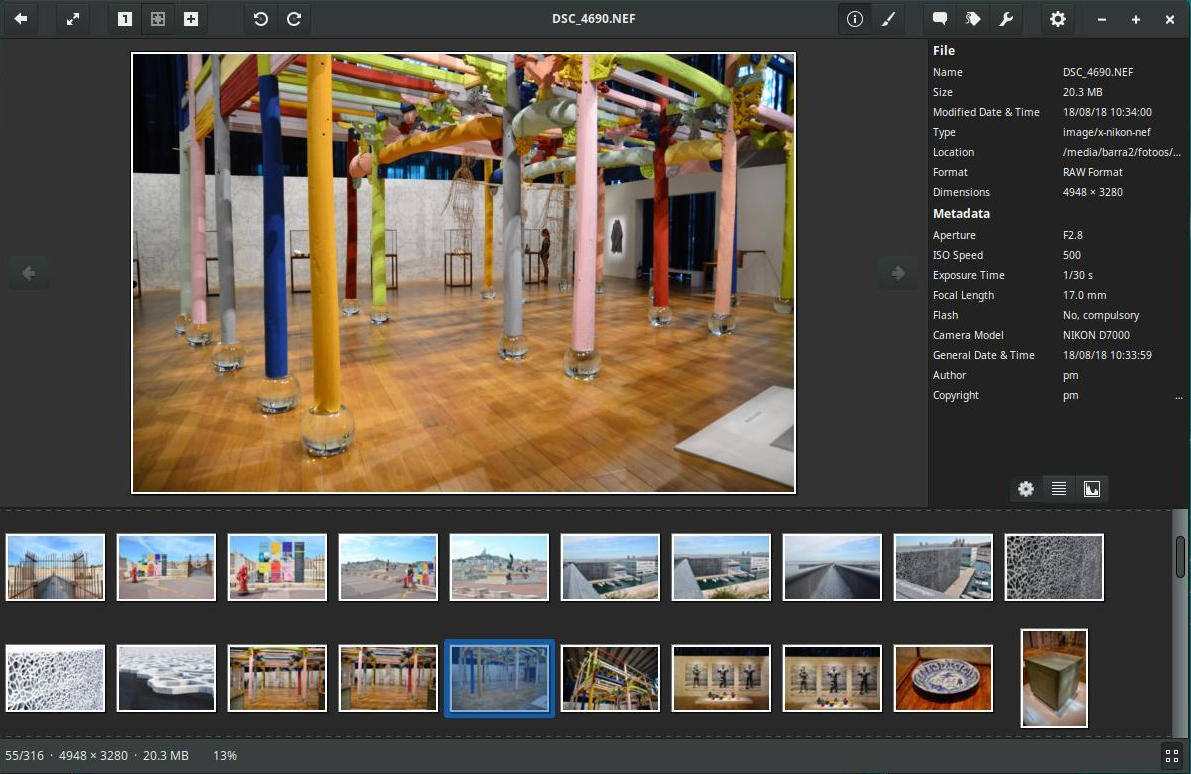
So looks the main window with a photo opened plus the thumbnail bar (use the dotted line above it to make it smaller or bigger) and the info window active.
You can safely open multiple instances of gThumb, this does not cause any memory problems.
Remember: F8 F9 i Z, X and Esc

At the top of the application window sits the menu bar. Click on the left arrow (or Alt+ ←) to jump to the previously visited folder, the right arrow (Alt+ →) goes the other way again. The round symbol next to it contains the history list with the recently visited folders. This list can become quite long, at the bottom you'll find an option to clear everything.
The following three icons show the home folder, the catalogs (if created, more on that later) and the bookmarks, respectively. Add a bookmark for the current folder by clicking on that icon, then say Add Bookmark. Give it a name of your choice. These bookmarks can be edited afterwards (renamed, deleted), via this menu as well. The system bookmarks can also be reached from here.
The search icon next to them lets you quickly see all variations (edits) of a photo in the current folder. To do this, only type the number of the photo, for example 1000. You will see the thumbnails that go with it, such as DSC_1000.RAW, DSC_1000.JPG, DSC_1000_v1.jpg, DSC_1000_v2.jpg, etc.
The name of the current folder is displayed in the middle of the menu bar.
The next icon starts a slide show. In the Preferences window you can set the transition effects, how long a photo is displayed and whether they should be shown in order or randomly.
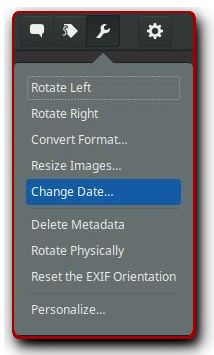
The tool icon contains a menu with some practical tools. A photo or a collection can be rotated left or right. You can convert them into another format (gThumb supports jpg, tiff, png, tga and webp) or resize them.
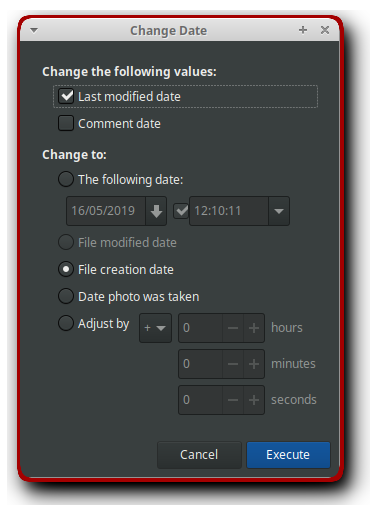
In case you forgot to adapt your camera for wintertime or summertime, you can change the hour of a selection of photos with +1 or -1; or set the date back to the original date if needed, that can be practical when you copied some photos over a network (then they'll get the time stamp of the moment of copying).
Tip: Select a photo, hold down the Shift key and click on a photo somewhere else. All intermediate photos are automatically selected.
The option Delete Metadata removes all exif info from your photos, so that they are not displayed on a site like Flickr (if you don't have disabled that already on Flickr itself). This includes data such as camera brand and model, shutter speed, etc., but also potentially privacy-sensitive data such as GPS coordinates. Once deleted, these data cannot be retrieved.
With the Personalize option you can send a photo to an image editing program such as Gimp and others, and assign a shortcut as well. More about this in the article gThumb as a file launcher.
Via the upload icon you can send a series of photos to photo sites such as Flickr, 23, Facebook or Picasa (Picasa is now Google Photos). This works quite well.
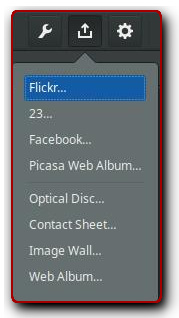
Because there is more to say about these upload methods, I also do that in a separate story called Export. By the way, if you are a notorious Facebook hater, you can disable that upload option via Preferences - Extensions. Facebook will then no longer appear in the menu.
In the named Export article I also discuss the possibilities of turning a series of photos into a contact sheet, an image wall or a simple website.
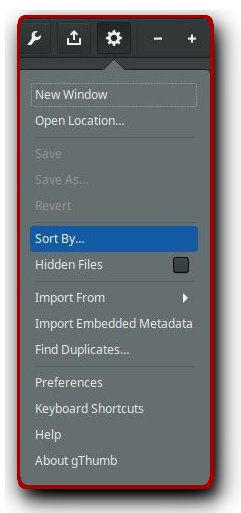
Finally, the gear icon shows a menu where you can, among others, sort your photos according to different criteria. This can be useful, for example, if some of the photos in a folder have a wrong date and you want to correct that in one flow.
You can also import photos from your Flickr account or from Picasa (but not Facebook), or from a removable medium.
The Keyboard Shortcuts entry opens a help window containing, indeed, the hot keys. I recommend keeping that list at hand in the beginning, working with gThumb will be much faster then.
Preferences. That window is largely self-explanatory. Tip: if you want to use gThumb for example to compare different sharpness or noise filters, it is useful if you can switch between two photos that are zoomed to 100% or more. That is possible, but you must indicate in the Viewer tab that the previous zoom factor should be retained.
The tab Saving is also important. Here you set the quality or compression levels of the different formats. What you set here is used everywhere in the program where files are saved.
The Help entry provides an explanation of the program. But as said, rather brief and a bit dated, with screenshots of the older GTK2 interface, while some components are not discussed at all.
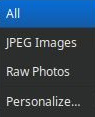
Back to the interface. At the bottom left you can choose which files to display: all image files, only jpgs, only raw files, etc..
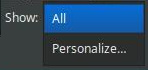
To activate some of these filters, click on Personalize and check the ones you want. Here I choose jpgs and raws.
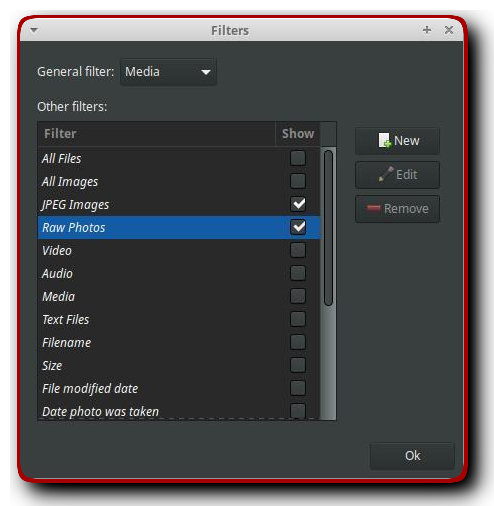
Click OK and now you can choose one of these.
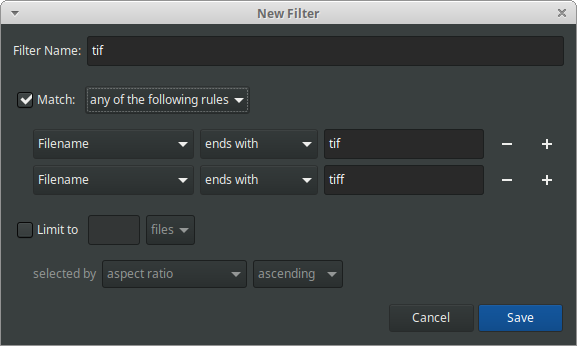
You can add your own filters as well, for tifs for example. Click on New, give it a name and indicate the filter conditions.
Selections can be displayed with the three flags at the bottom right. Select a photo by clicking on Alt+1, which will then get the green flag. Alt+2 assigns a red flag and Alt+3 a black one. 'Unflagging' is done with the key combinations Alt+Shift+ 1/2/3. By clicking on the green flag at the bottom right, all photos with that flag are displayed. Etc.
Finally, there is the 'Organize' button at the top right. I don't exactly see why this is practical. If you use this, photos are organized, or placed in catalogs. The default option is Date photo was taken. If you do that, you will get a series of catalogs with dates as names, with all the photos taken on March 1, March 2 and 3, March 18, etc. Maybe some people will find this useful. You can also organize them based on tags. Up to you!
By right-clicking the mouse on a thumbnail or a photo, a menu appears.
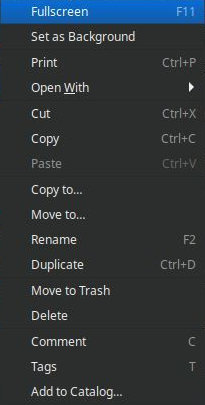
Here you can rename (F2) or copy (Ctrl+C), print (Ctrl+P), add comments or tags or open the photo in another image editor, and more. See for yourself.
_____________
